
100% Cotton fabric.
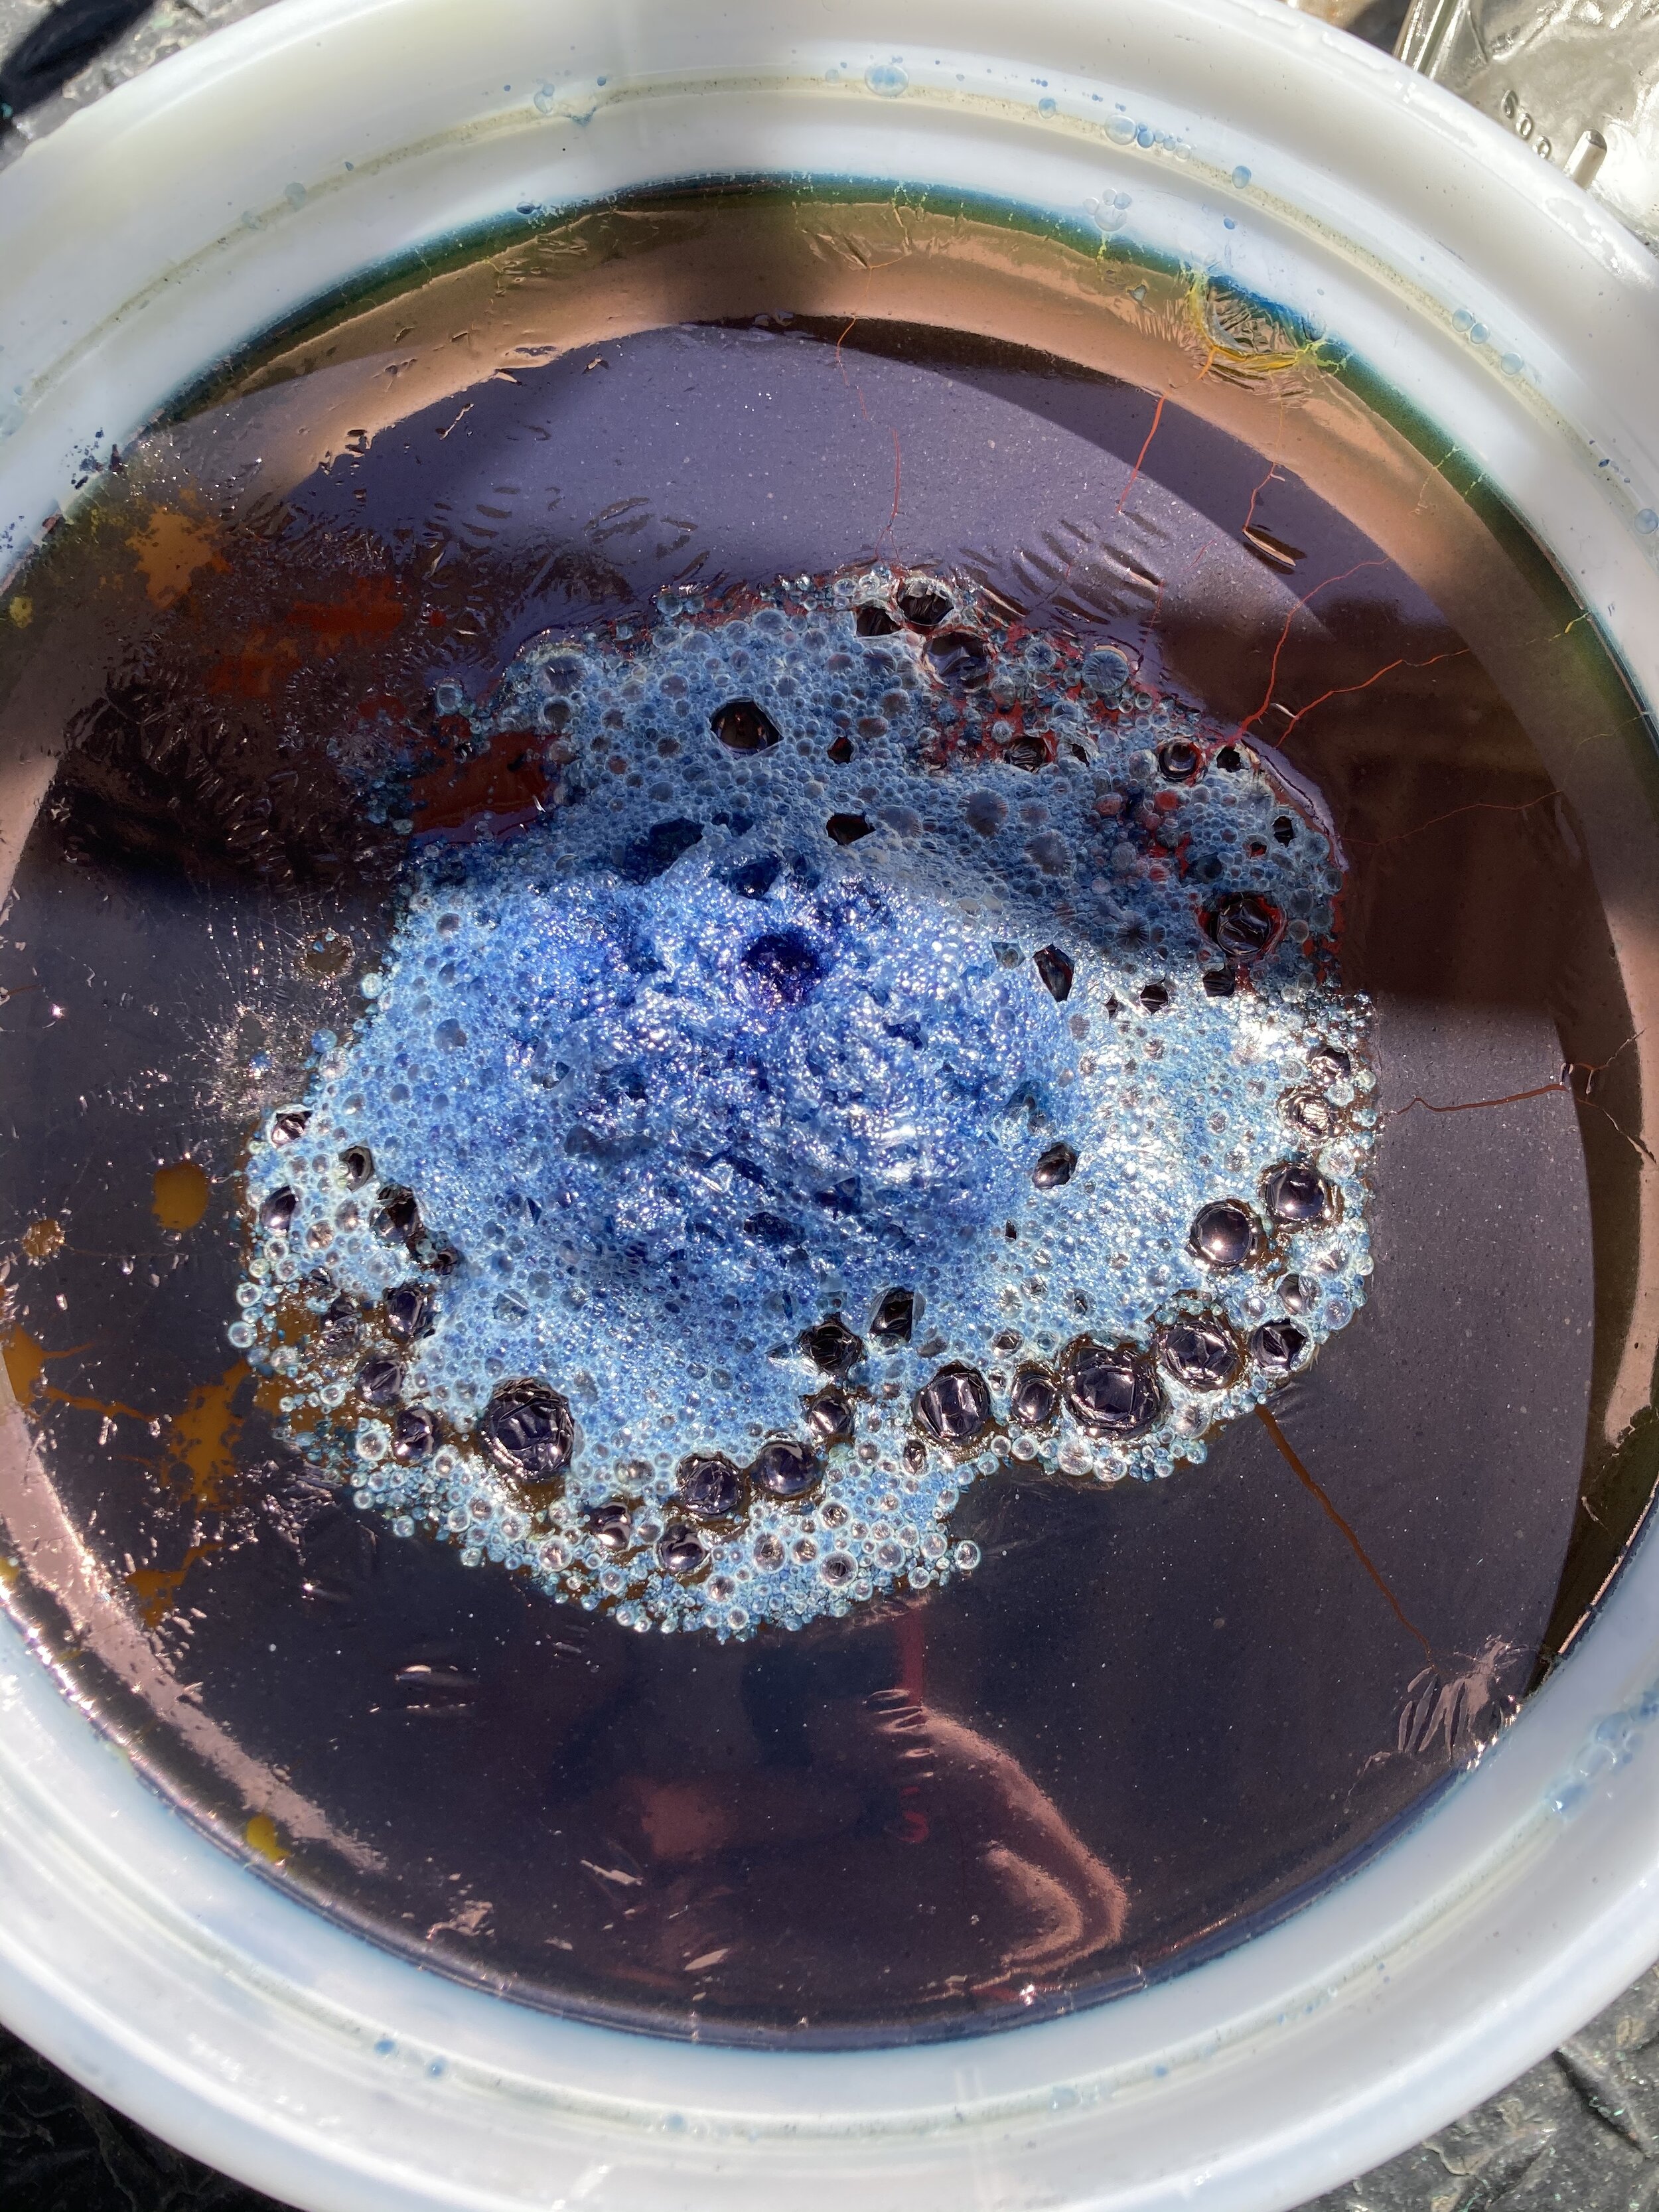
3-2-1 Fructose Vat. It was made from ~22g of indigo pigment extracted from 3 summer harvests. The pigment was washed twice, which reduced it to 18g. Leaf weight pre-extraction was about 6-7lbs each. Single dips yield a light blue. I will need to supplement this vat with alternatively sourced indigo.

100% silk, no mordanting. Ph of black Hopi sunflower liquor was dropped to about 4. Take-up was so strong, the dye bath went from opaque to translucent (this was done after the wool hanks were dyed).
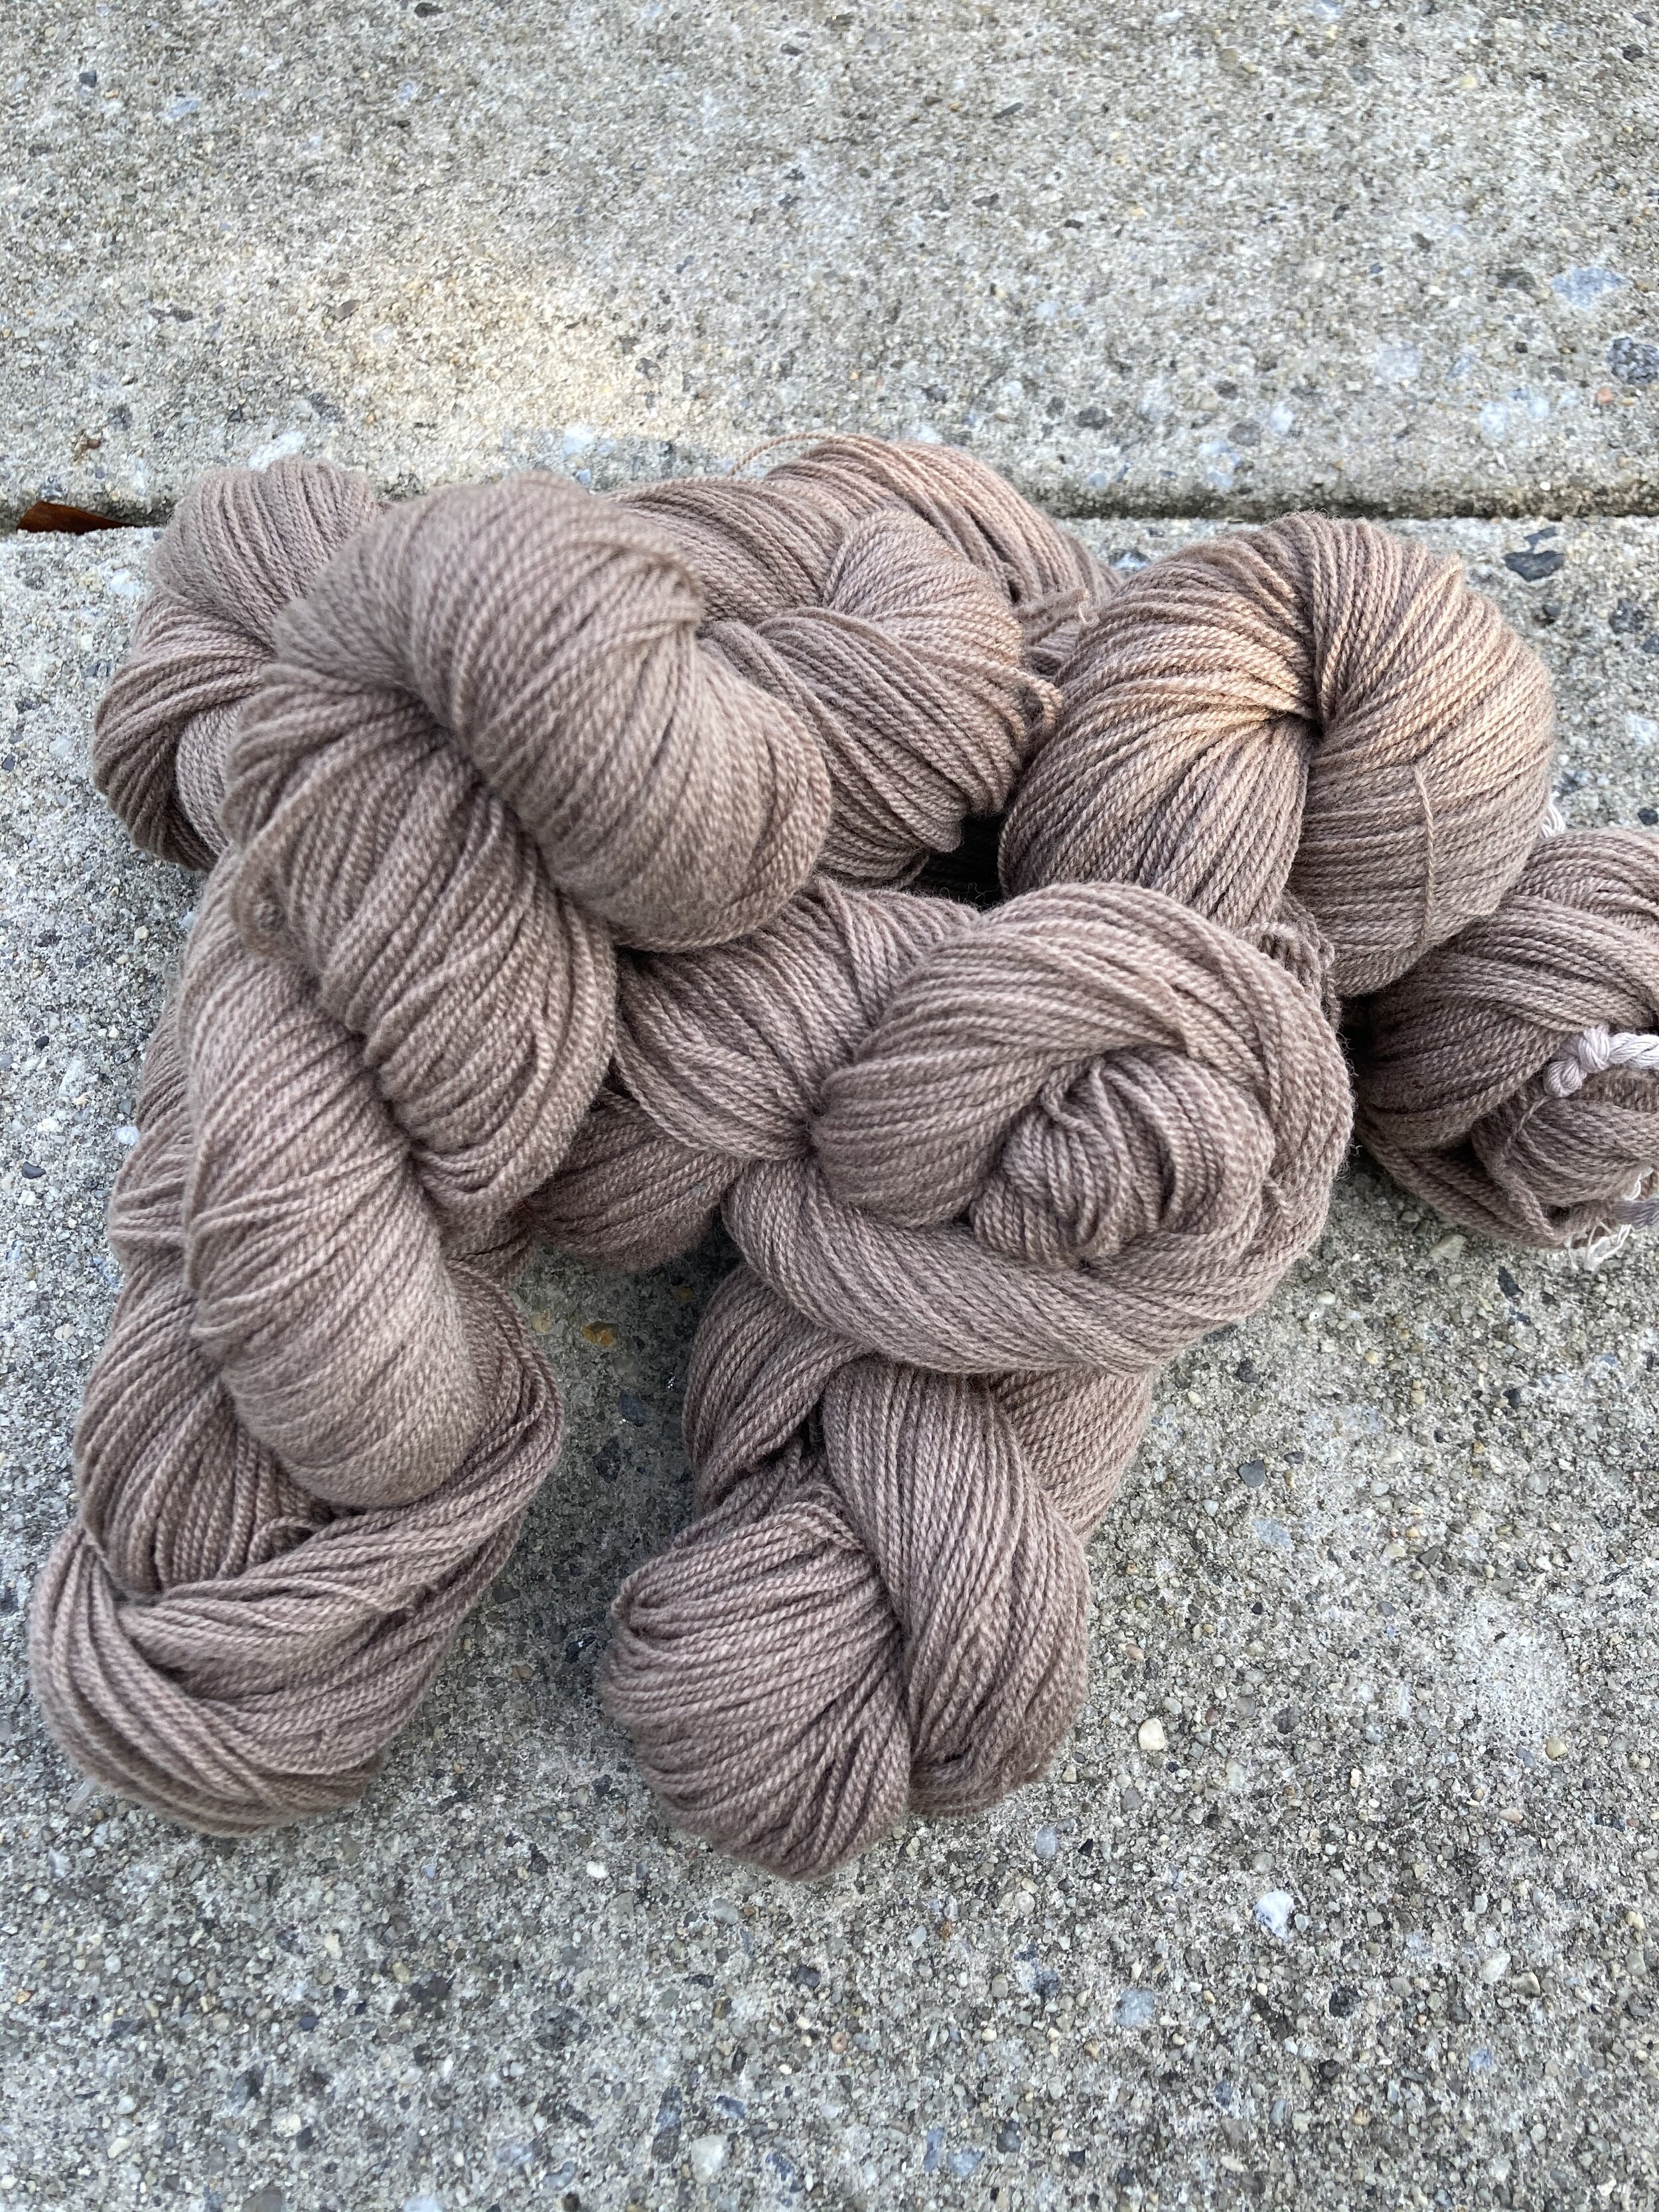
Wool is Brooklyn Tweed Peerie. Mordanted with Alum+Cream of Tartar. Dye takeup was poor in comparison to silk, which was not mordanted at all.
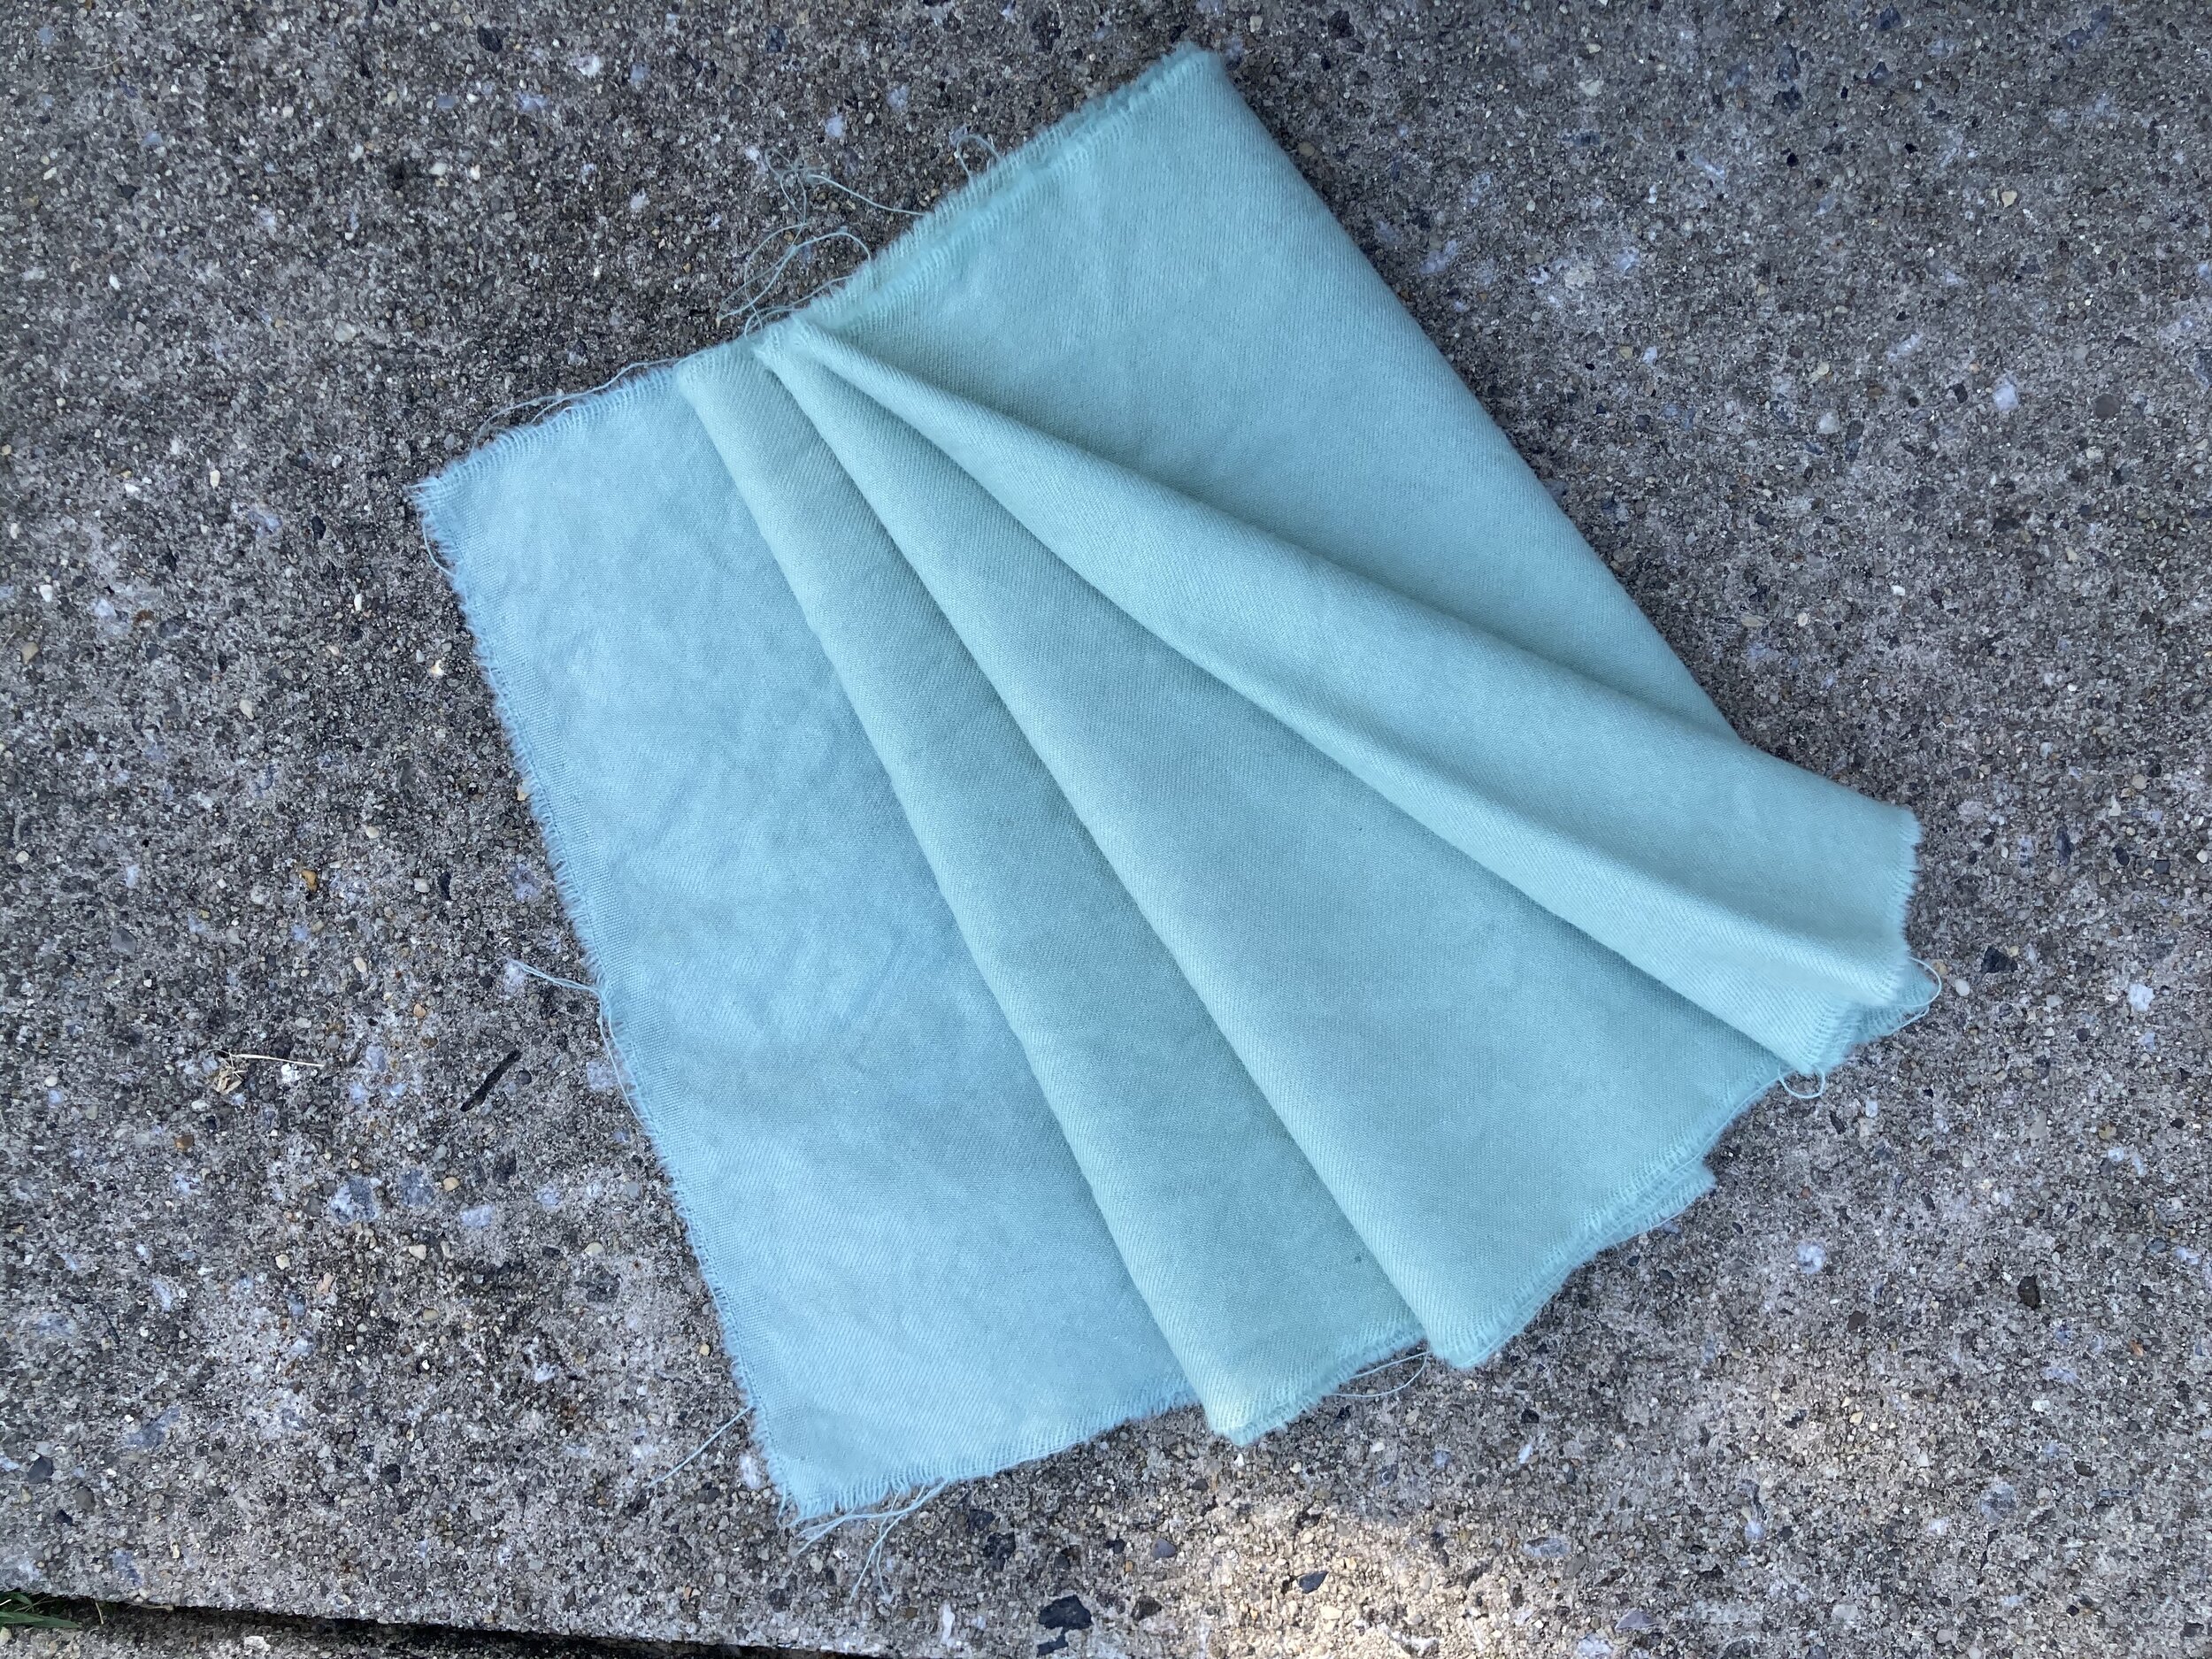
100% wool. Left side was dipped in a water/vinegar solution to get a truer blue
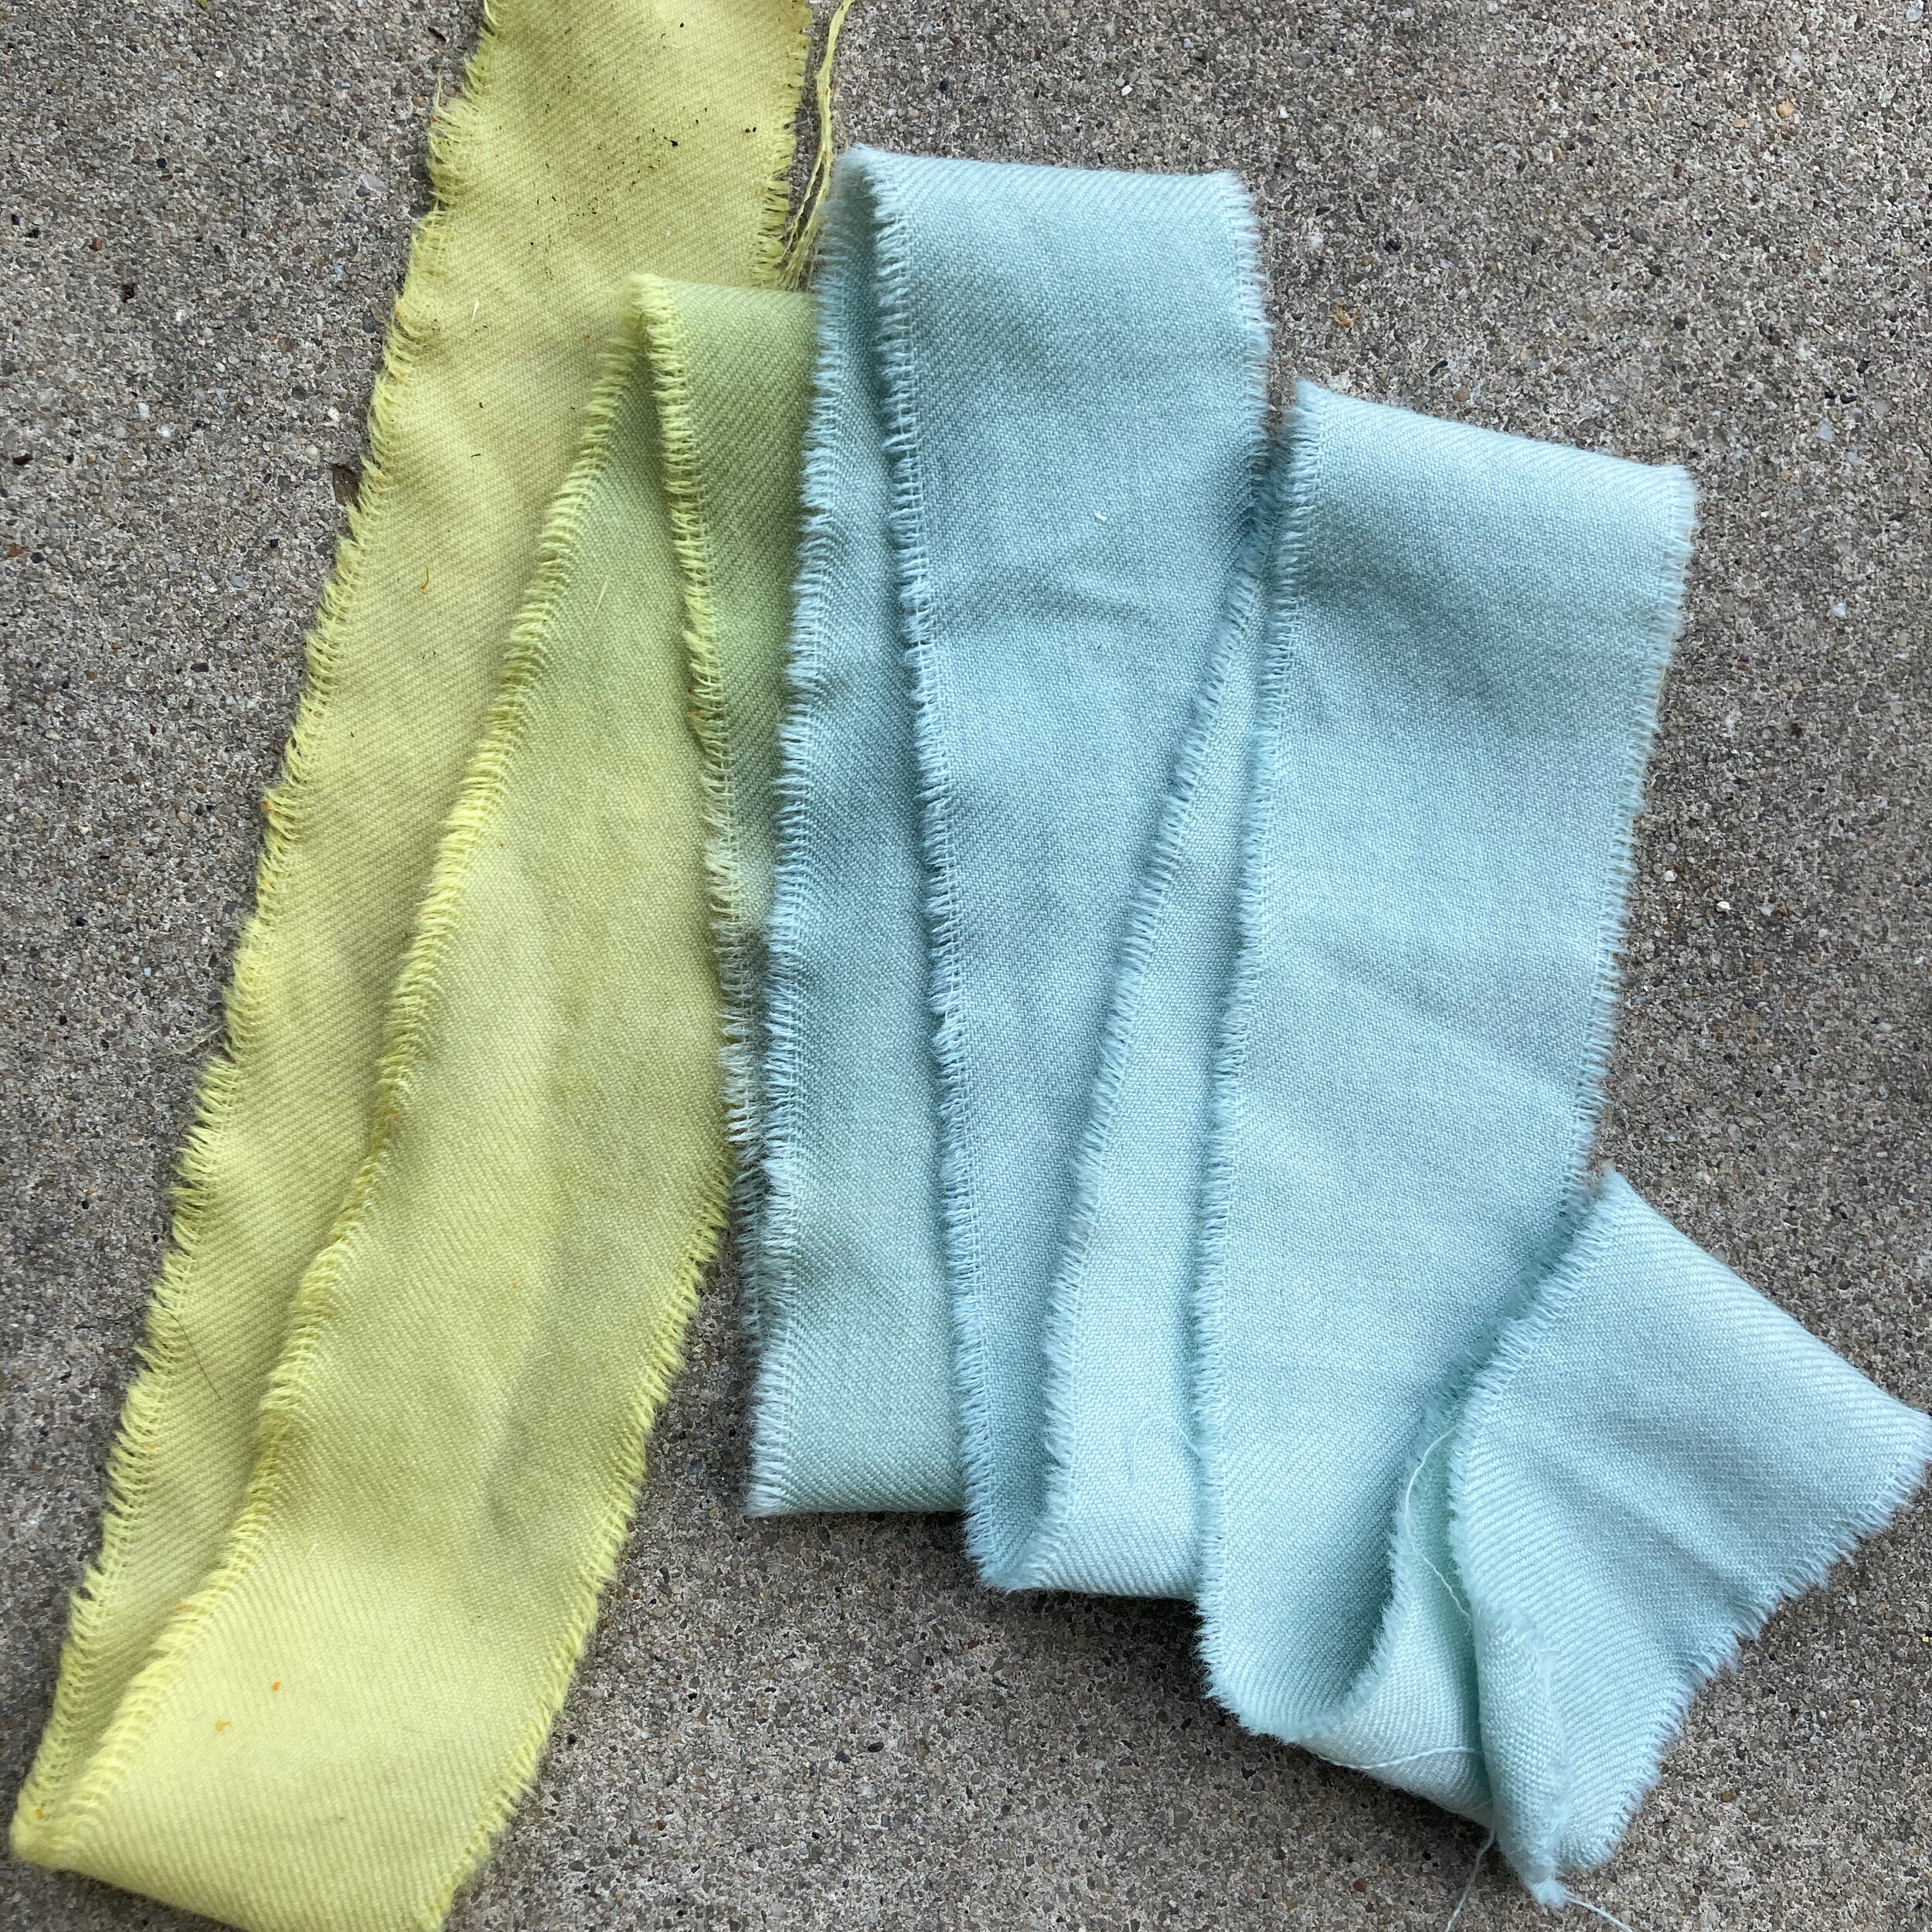
100% Wool
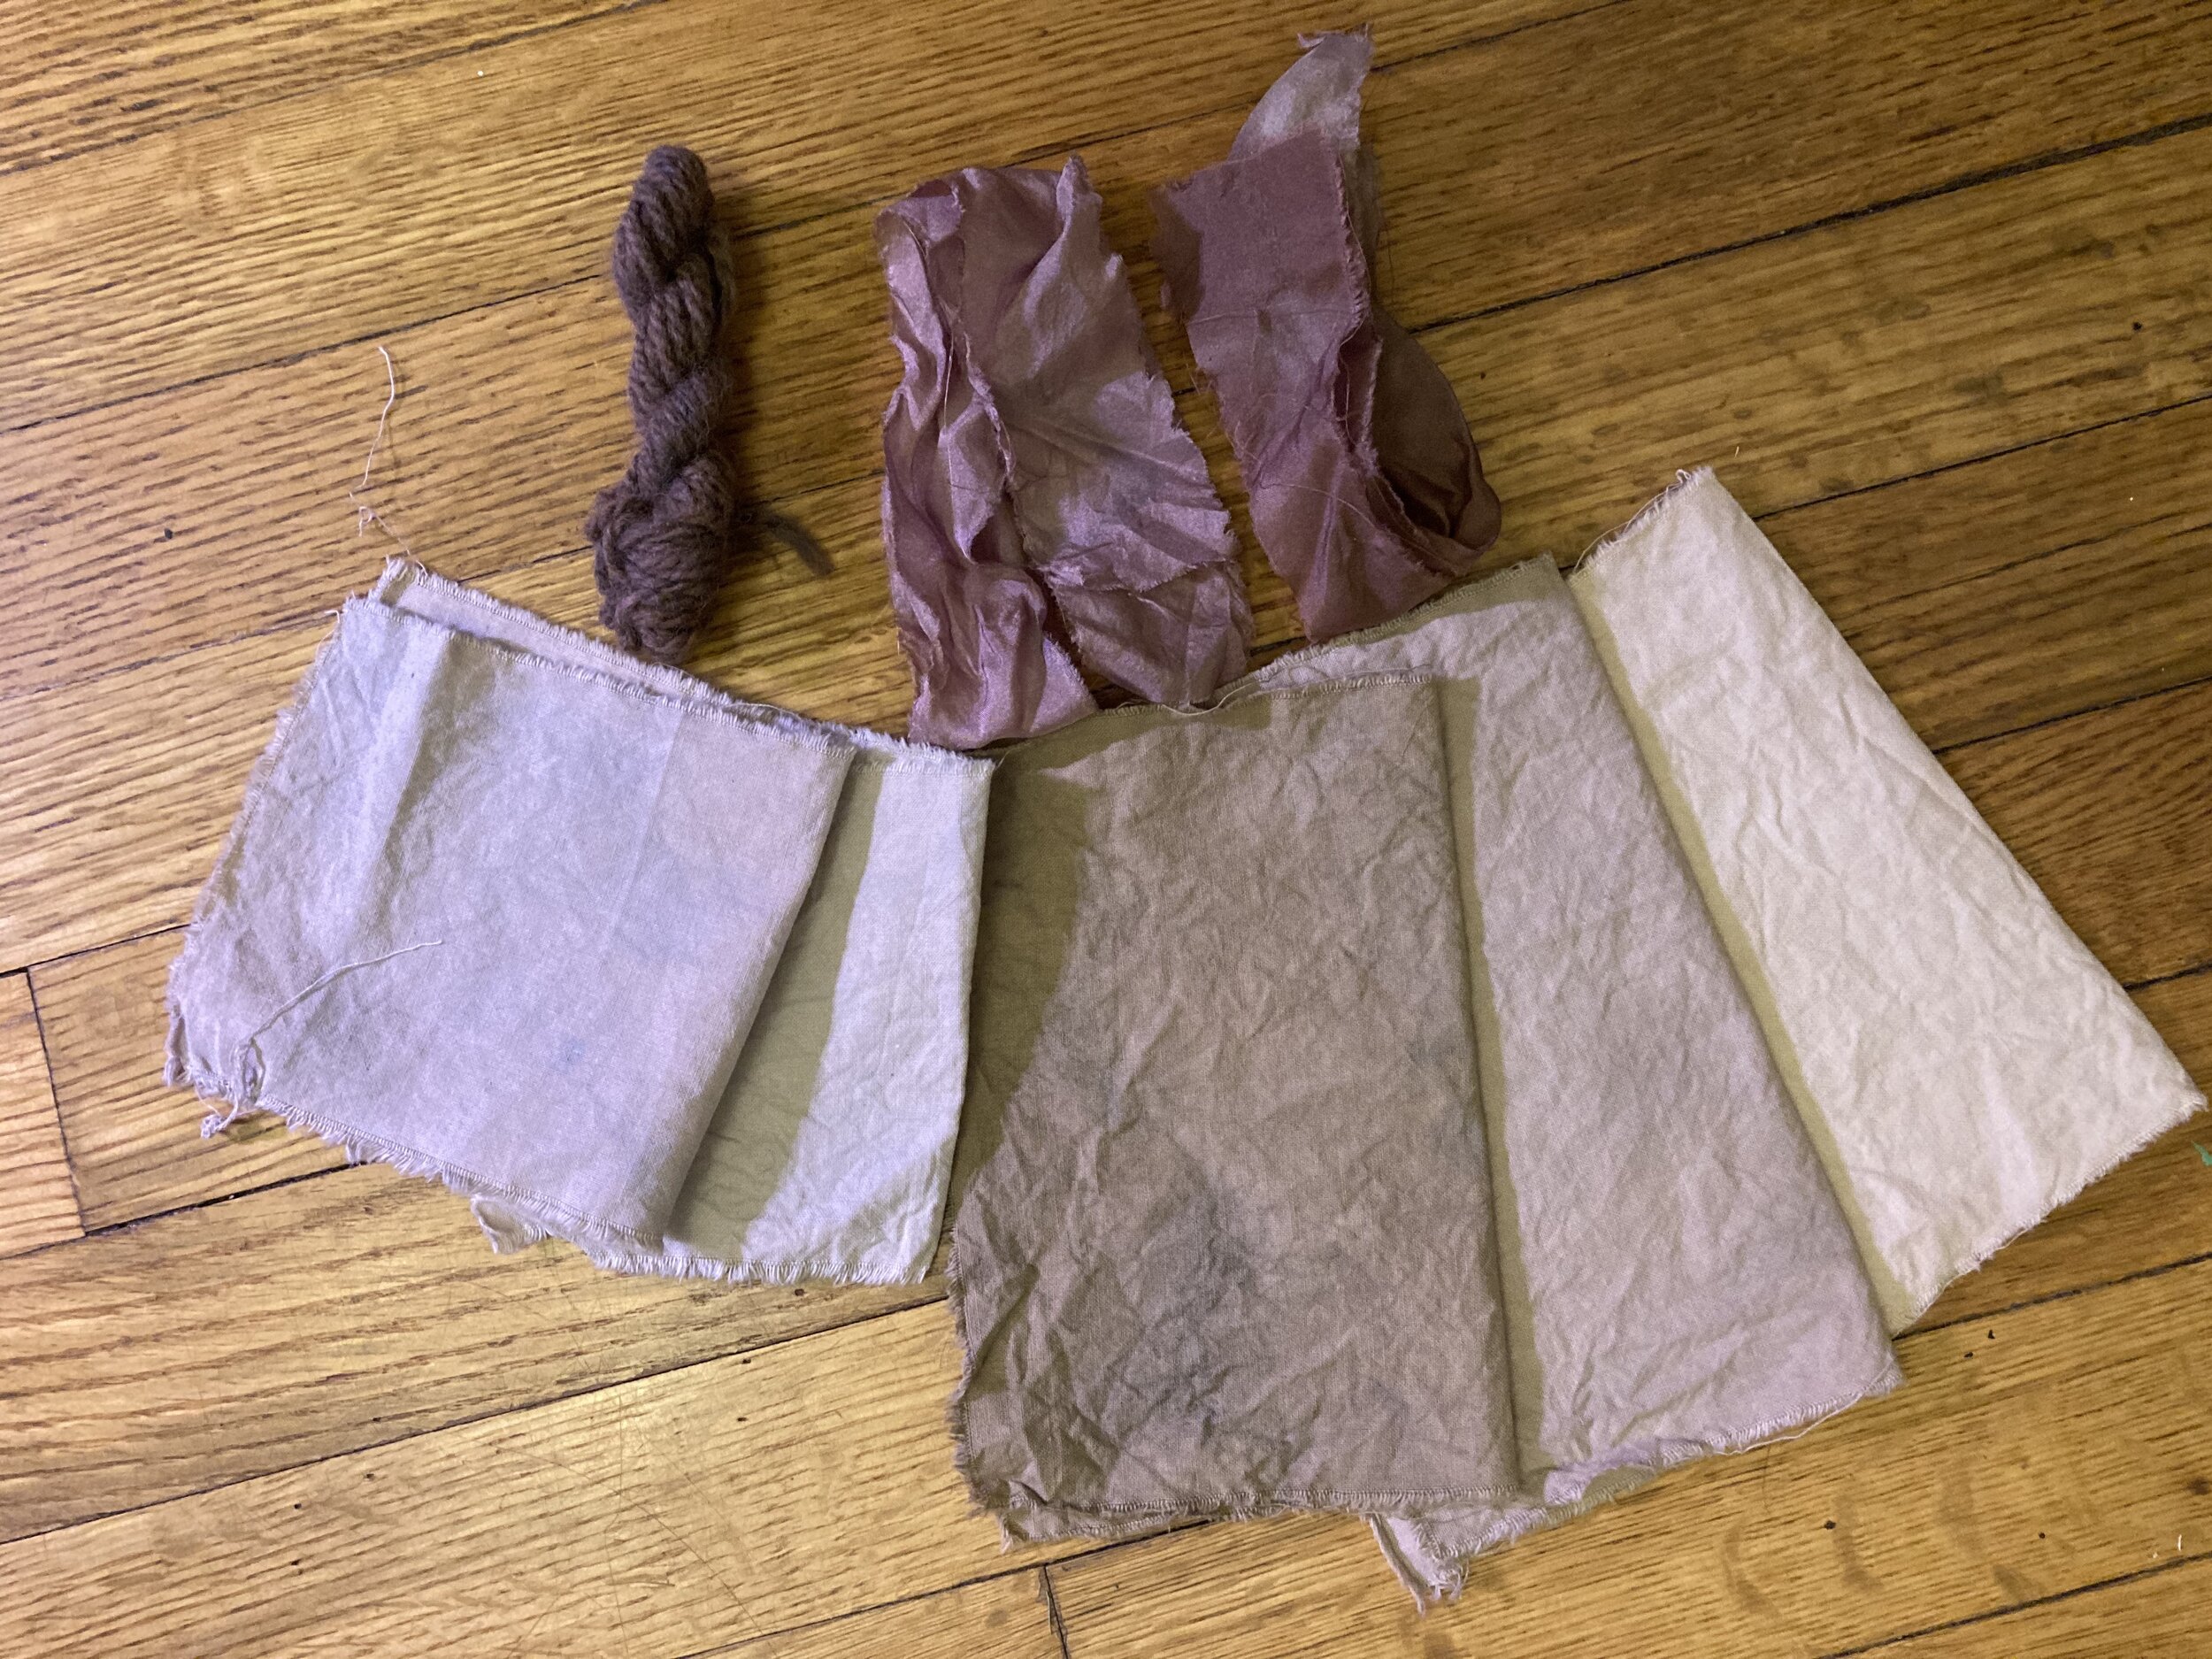
Using the leftover mash from fresh leaf indigo dyeing, I dyed cotton, silk, and wool to get reddish purples & tans.
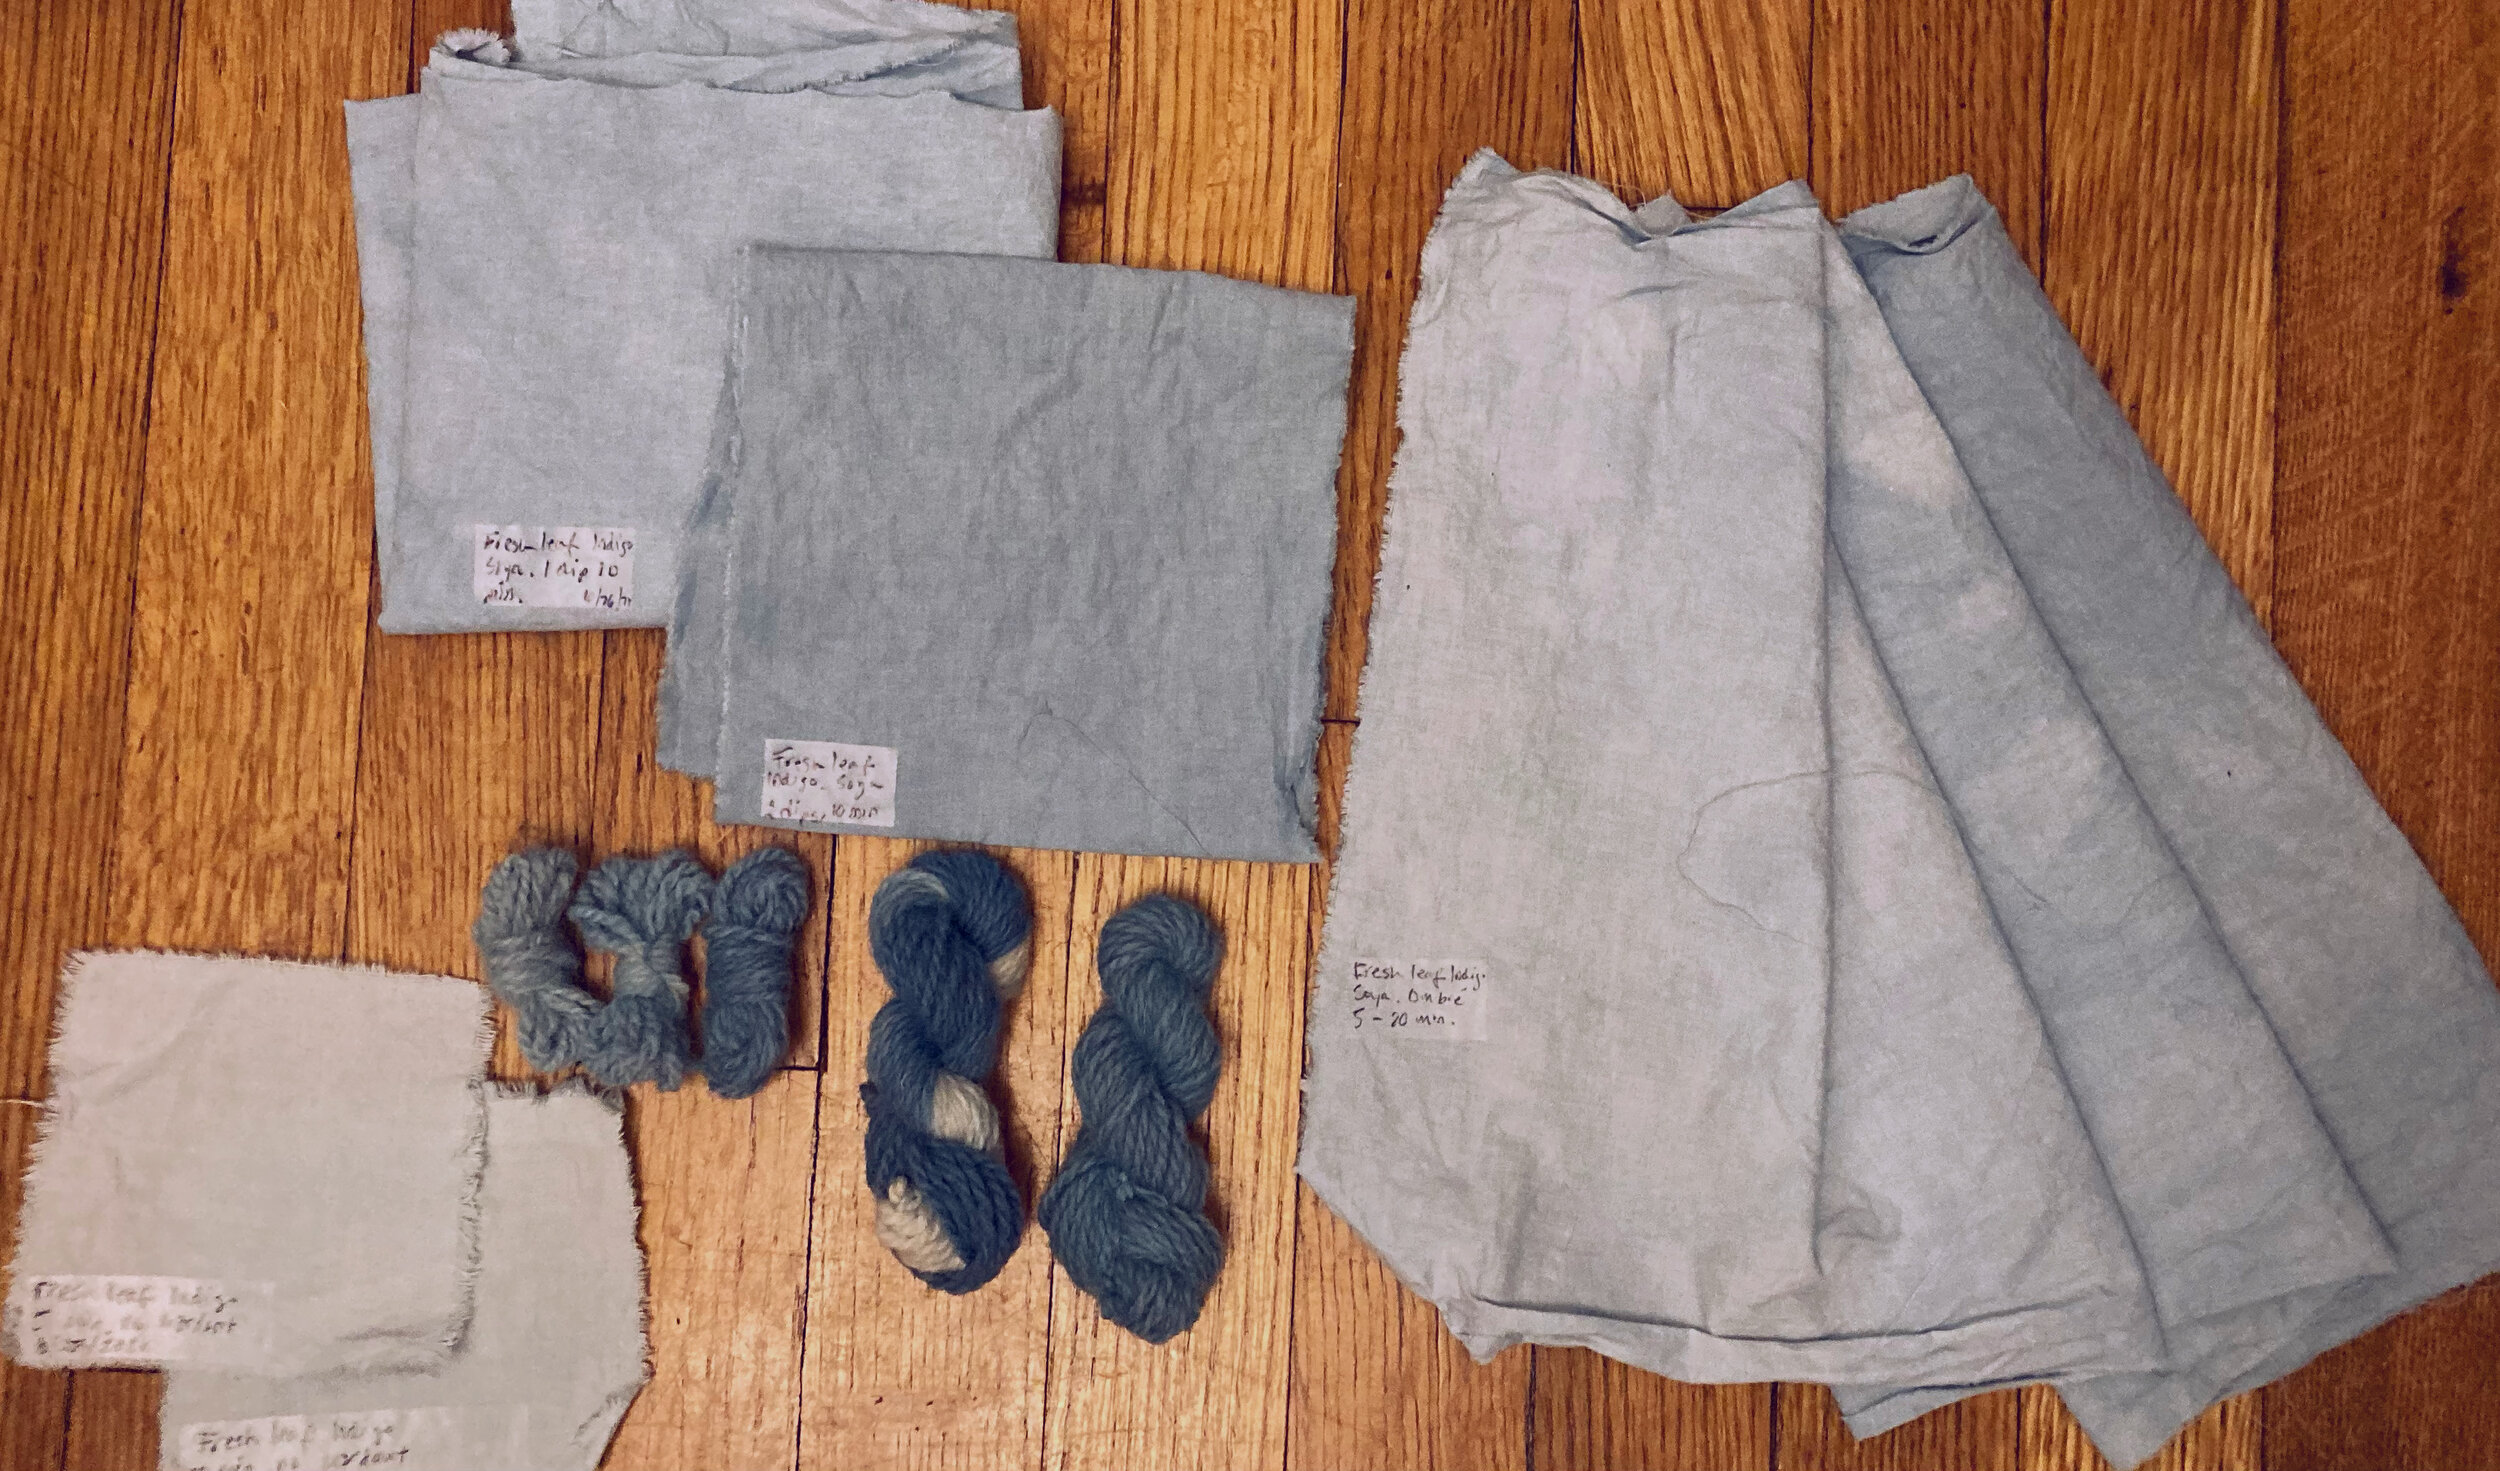
Samples of fresh indigo dyeing done on cotton and wool using soya binder on some, with different dipping times.
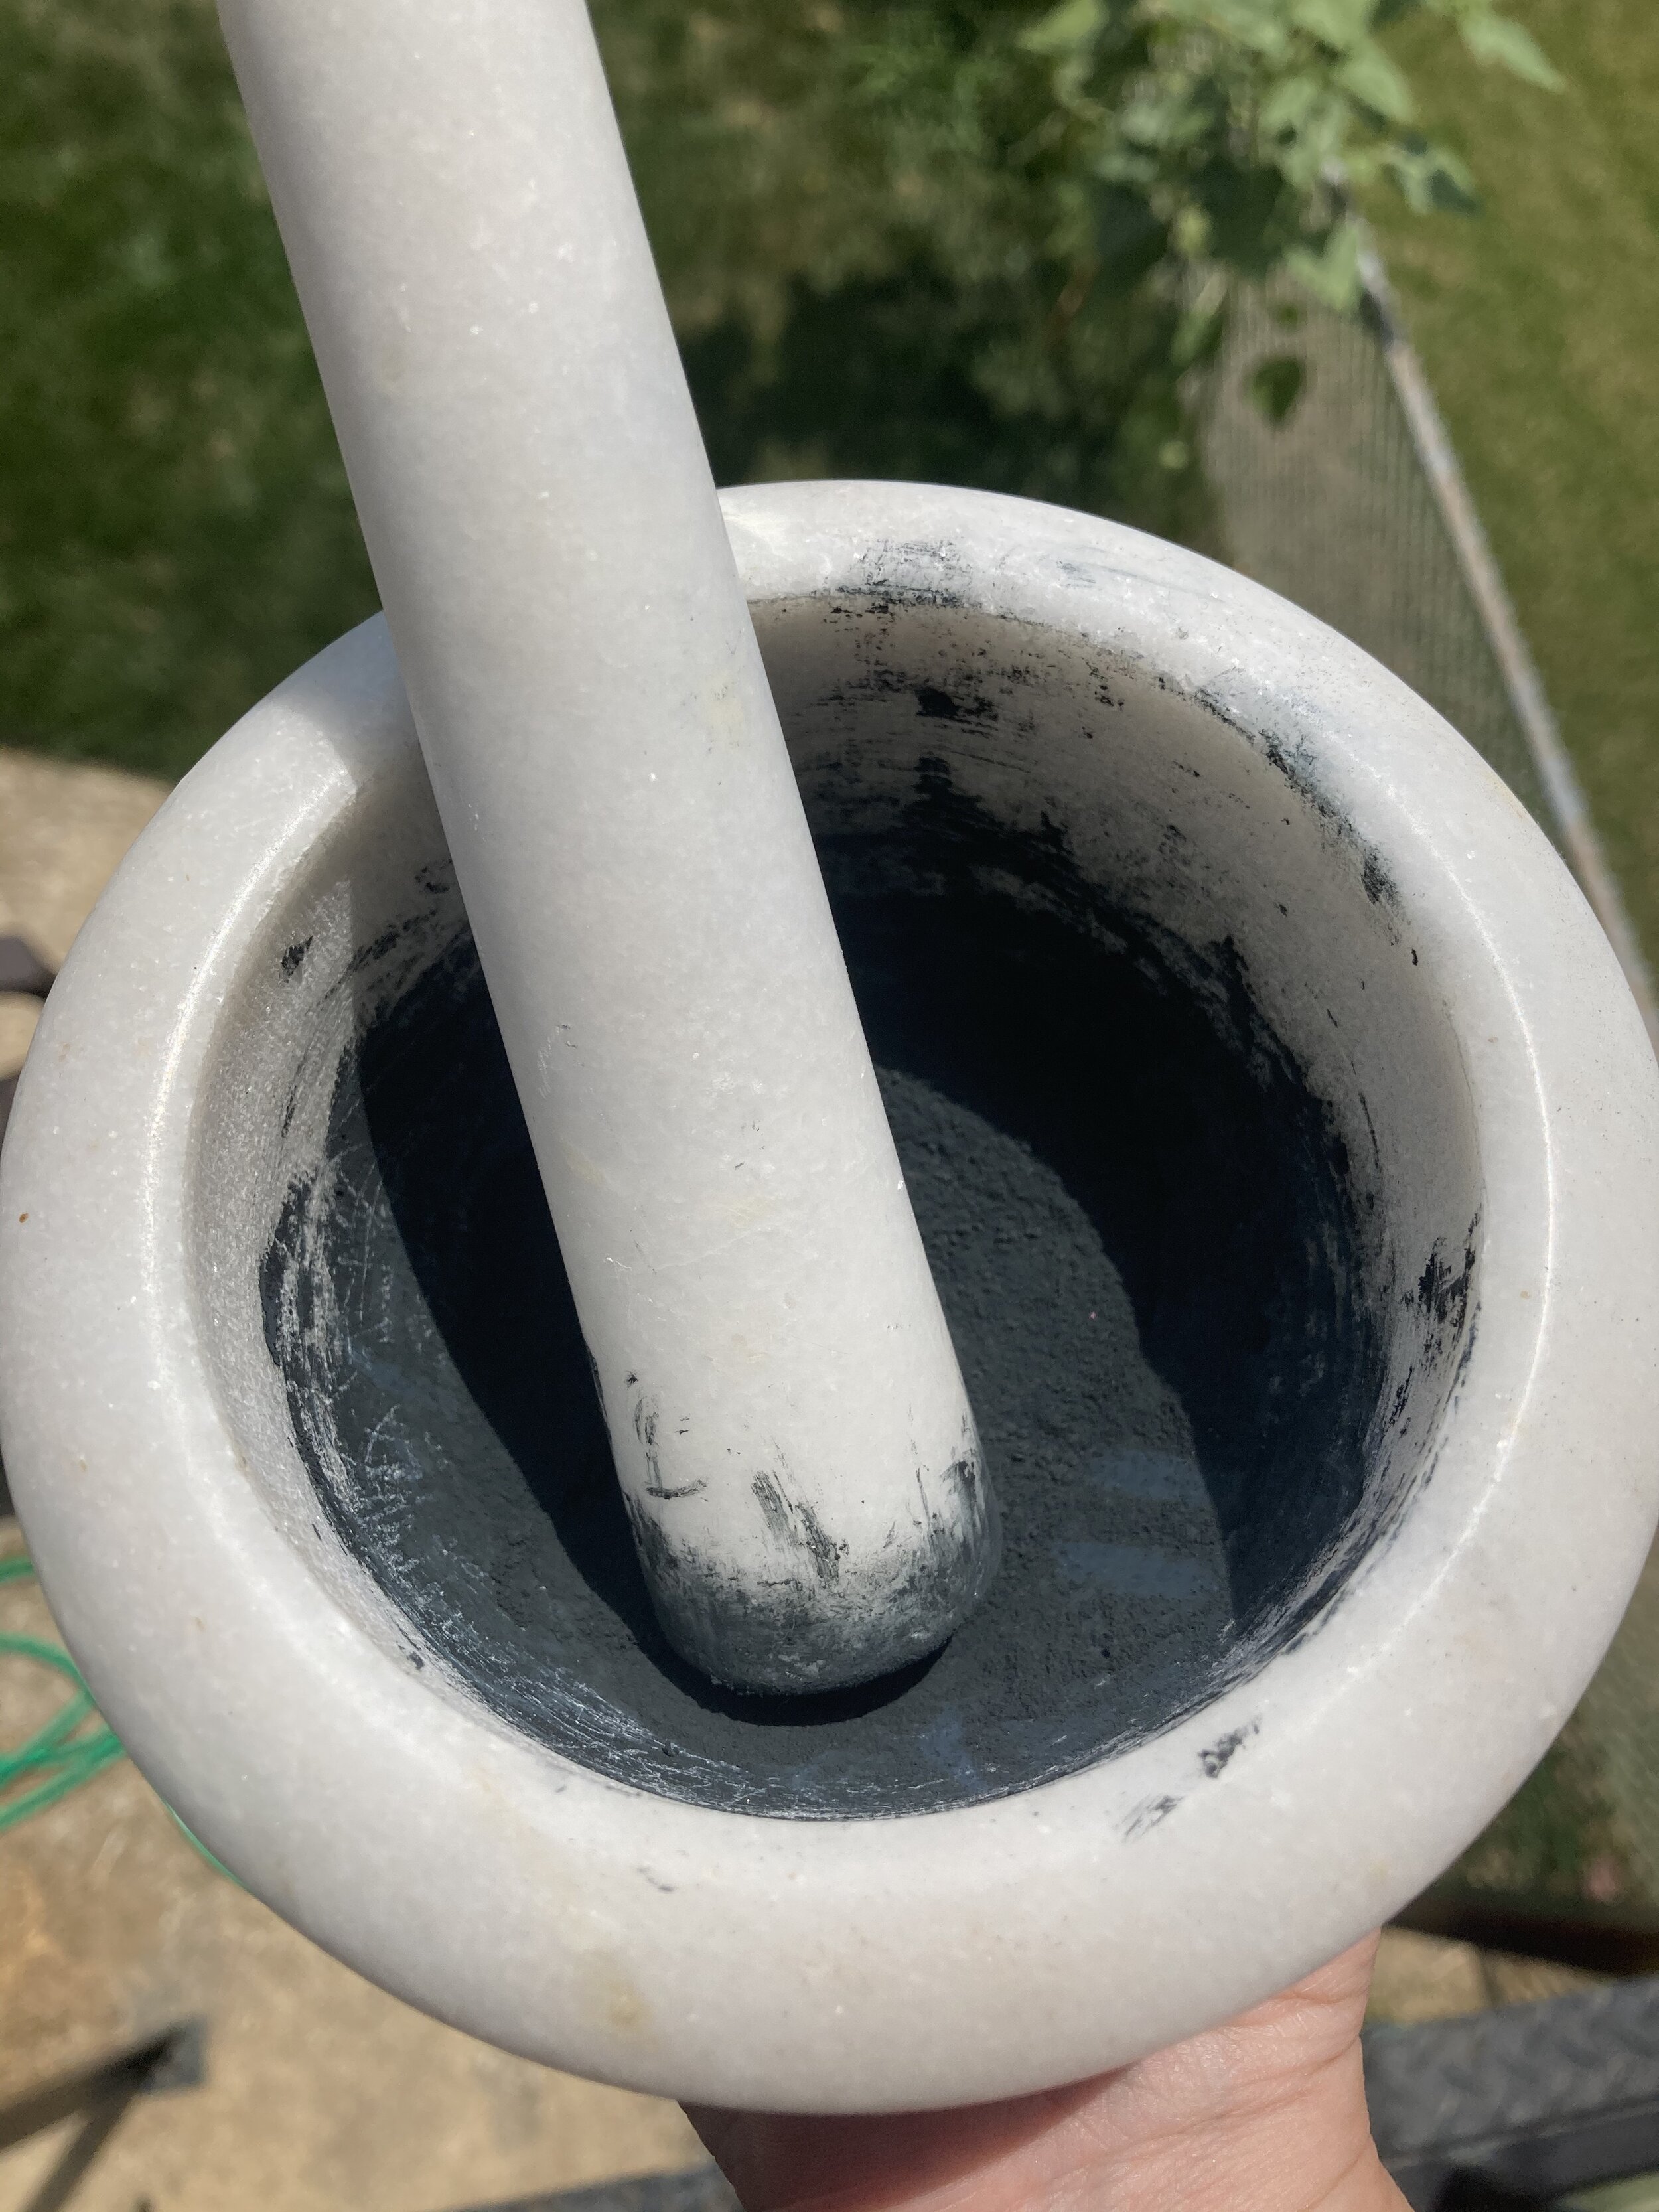
Once the paste has been filtered and dried, it can be pounded into powder. From about 7 lbs of leaves, I got a little over 7 grams of pigment, which corresponds to the ratio expected of Japanese indigo. This pigment will be added to a vat I’ll be starting later this summer.
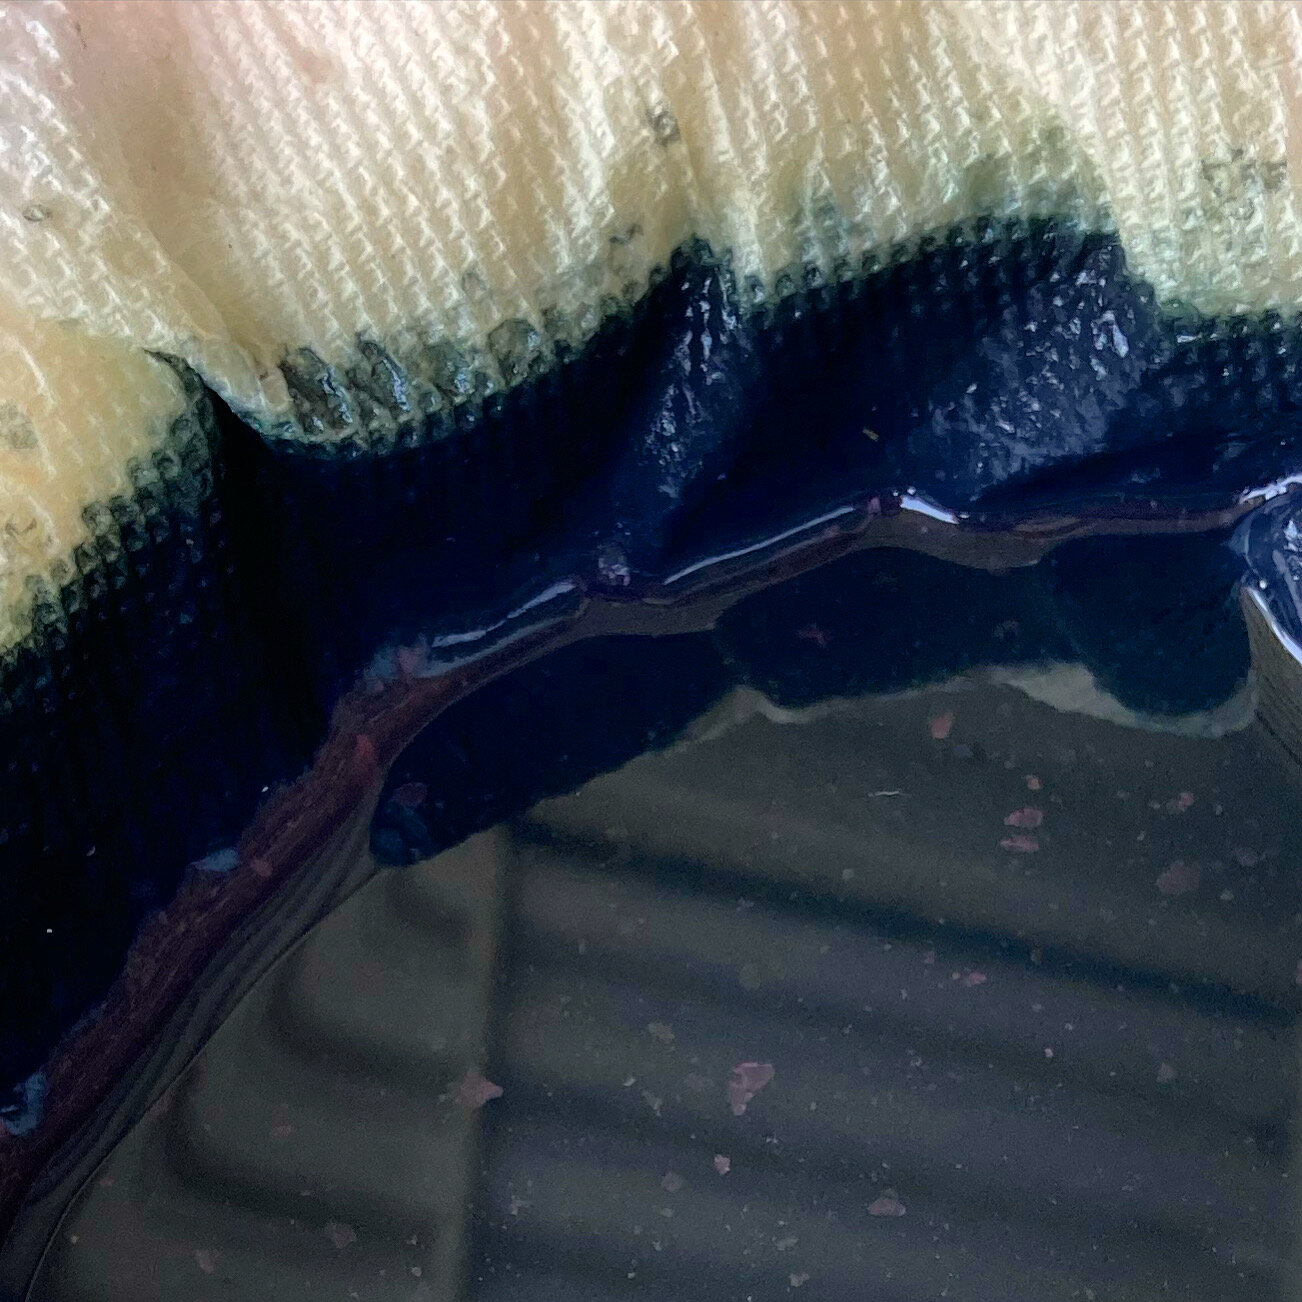
Once the Ph has been adjusted, oxygen is introduced. I used an egg beater to do this. I didn’t document this part, but once done, is set aside to allow for the floccing process to take place. As the pigment settles on the bottom of the container, the liquid becomes clearer. At this point, a slow decanting is done until a pigment paste is left that can then be drained.
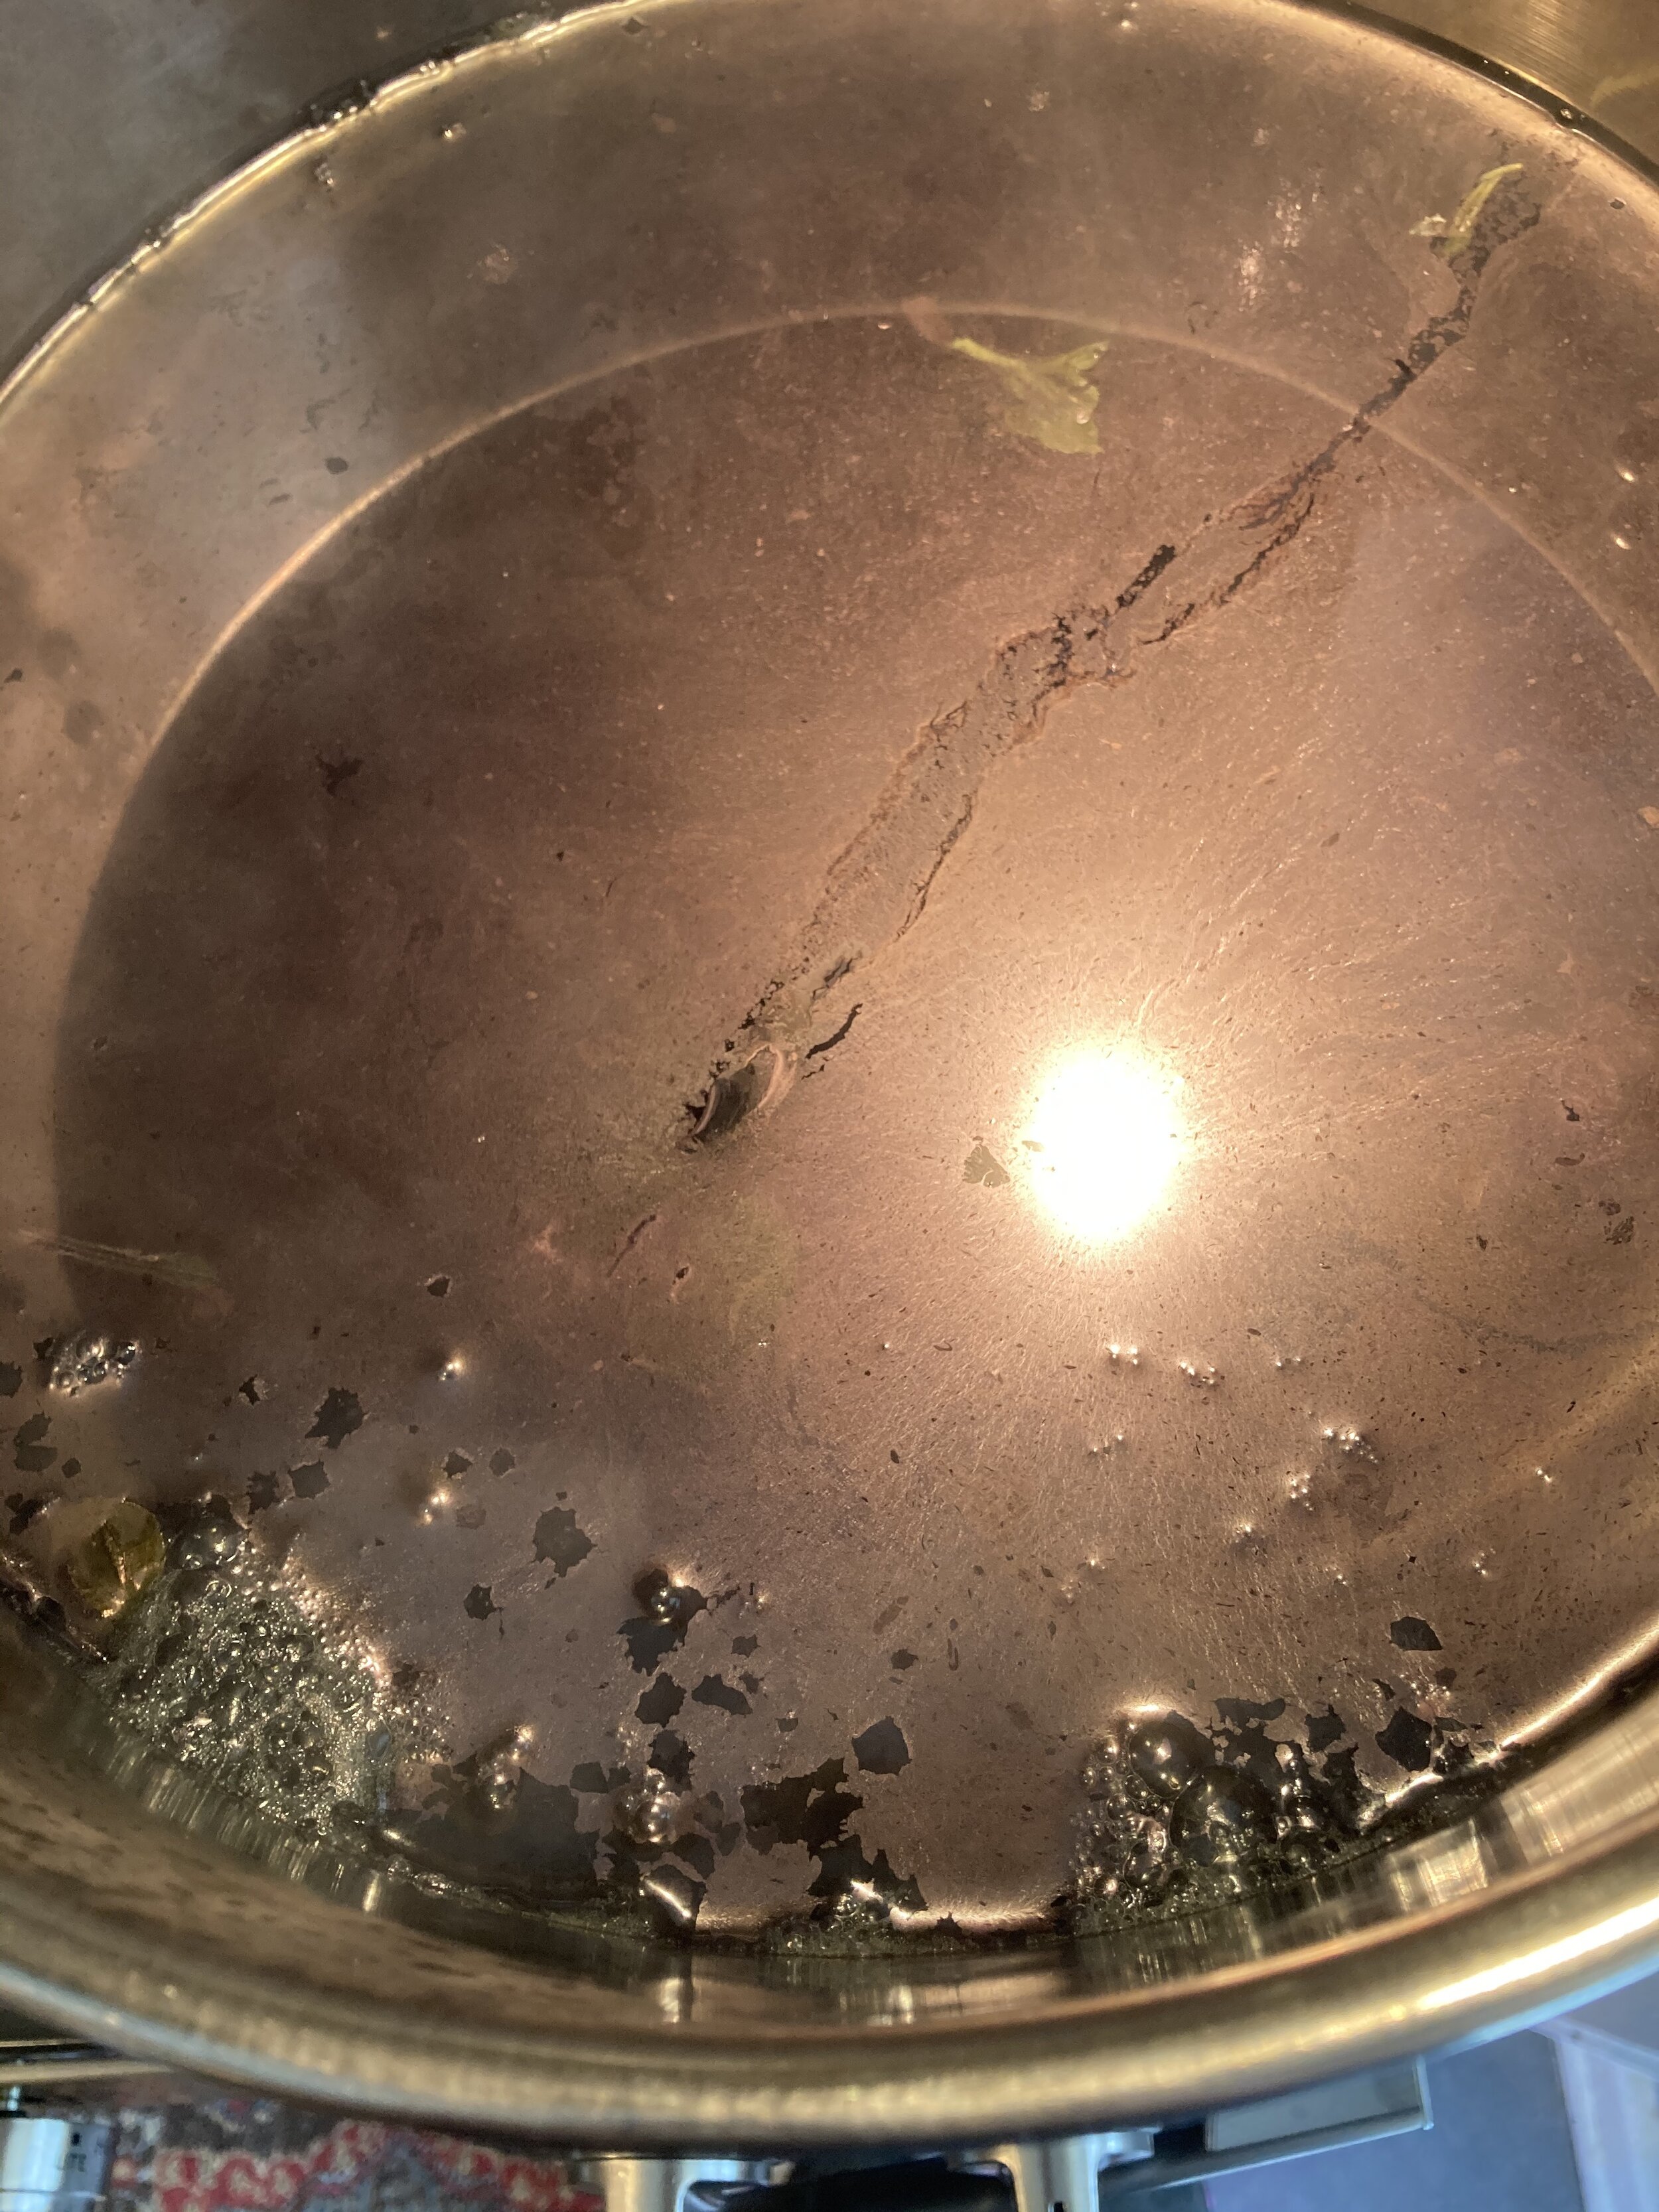
In order to get the indoxyl molecules separated from water, the bath’s alkalinity must be adjusted to between 10-11. Once adjusted, indigotin is formed through the action of floccing. As an example, Calcium Hydroxide is a floccing agent.
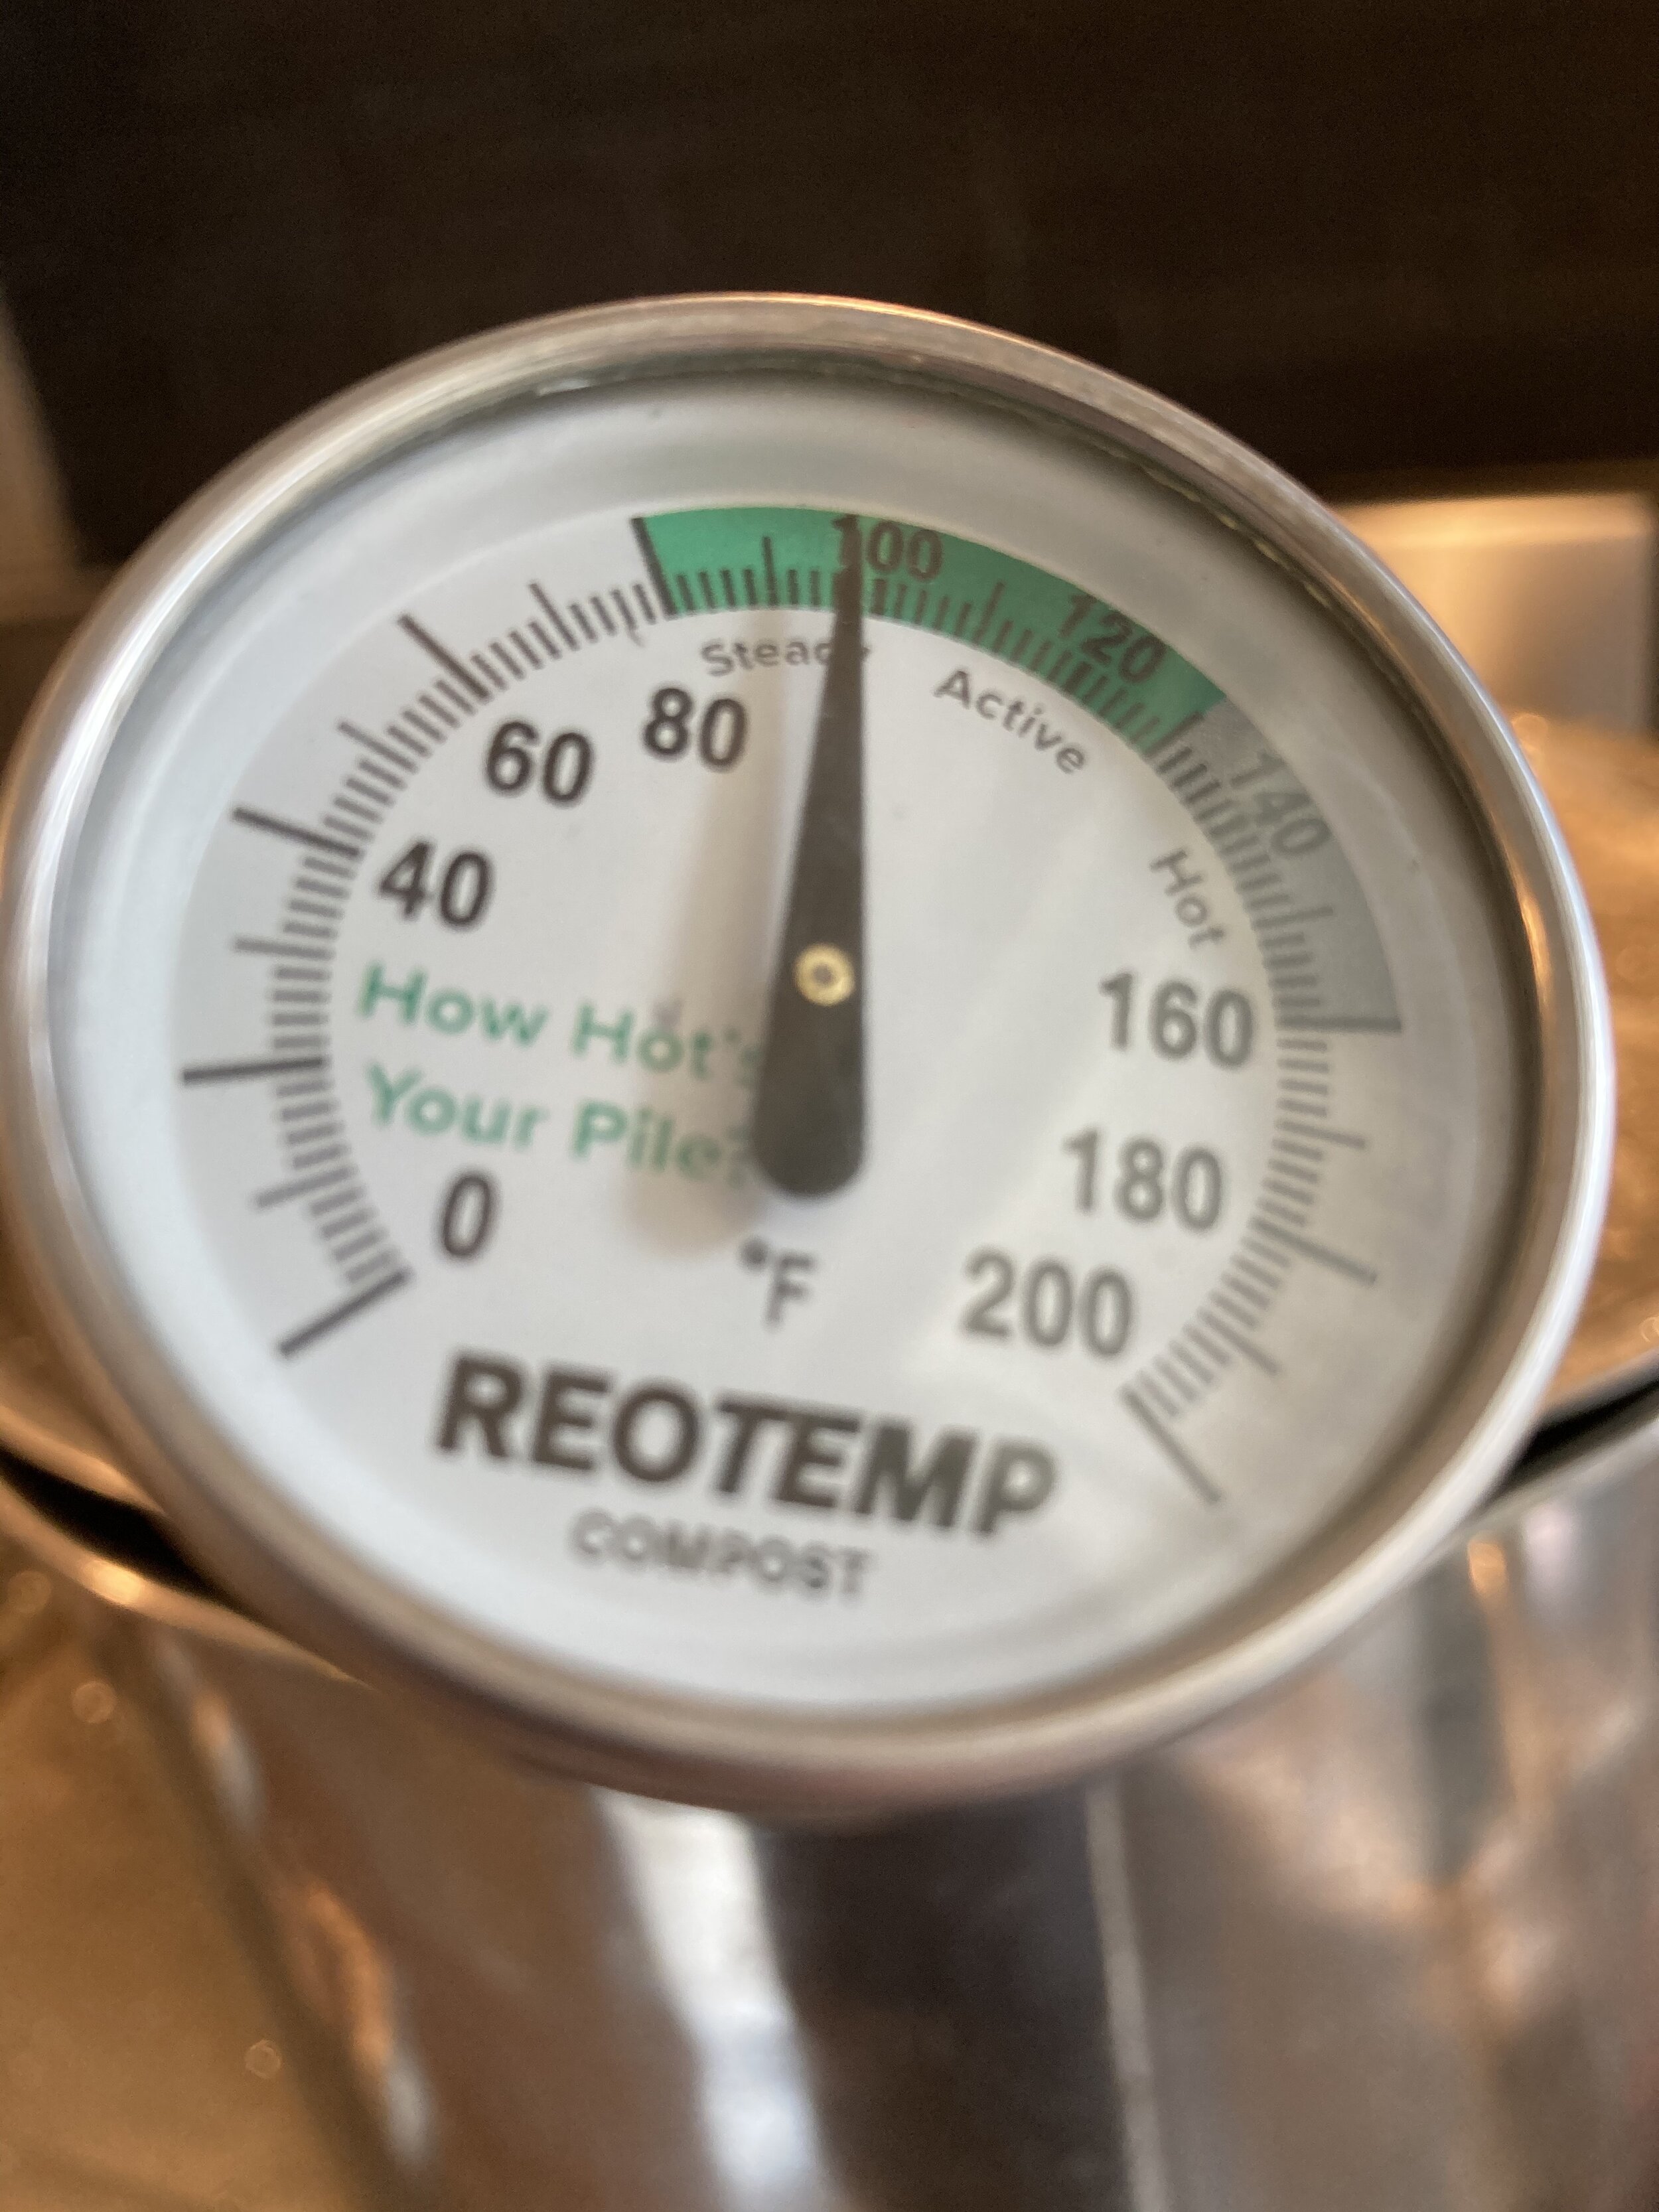
The next step was to extract the dye by slowly heating a pot with leaves weighted down, not exceeding 120ºF - 140ºF. This is something of a quick heated fermentation process. A slower process is to allow the container of leaves in water to ferment over a few days time. Ideal for very hot summer days.
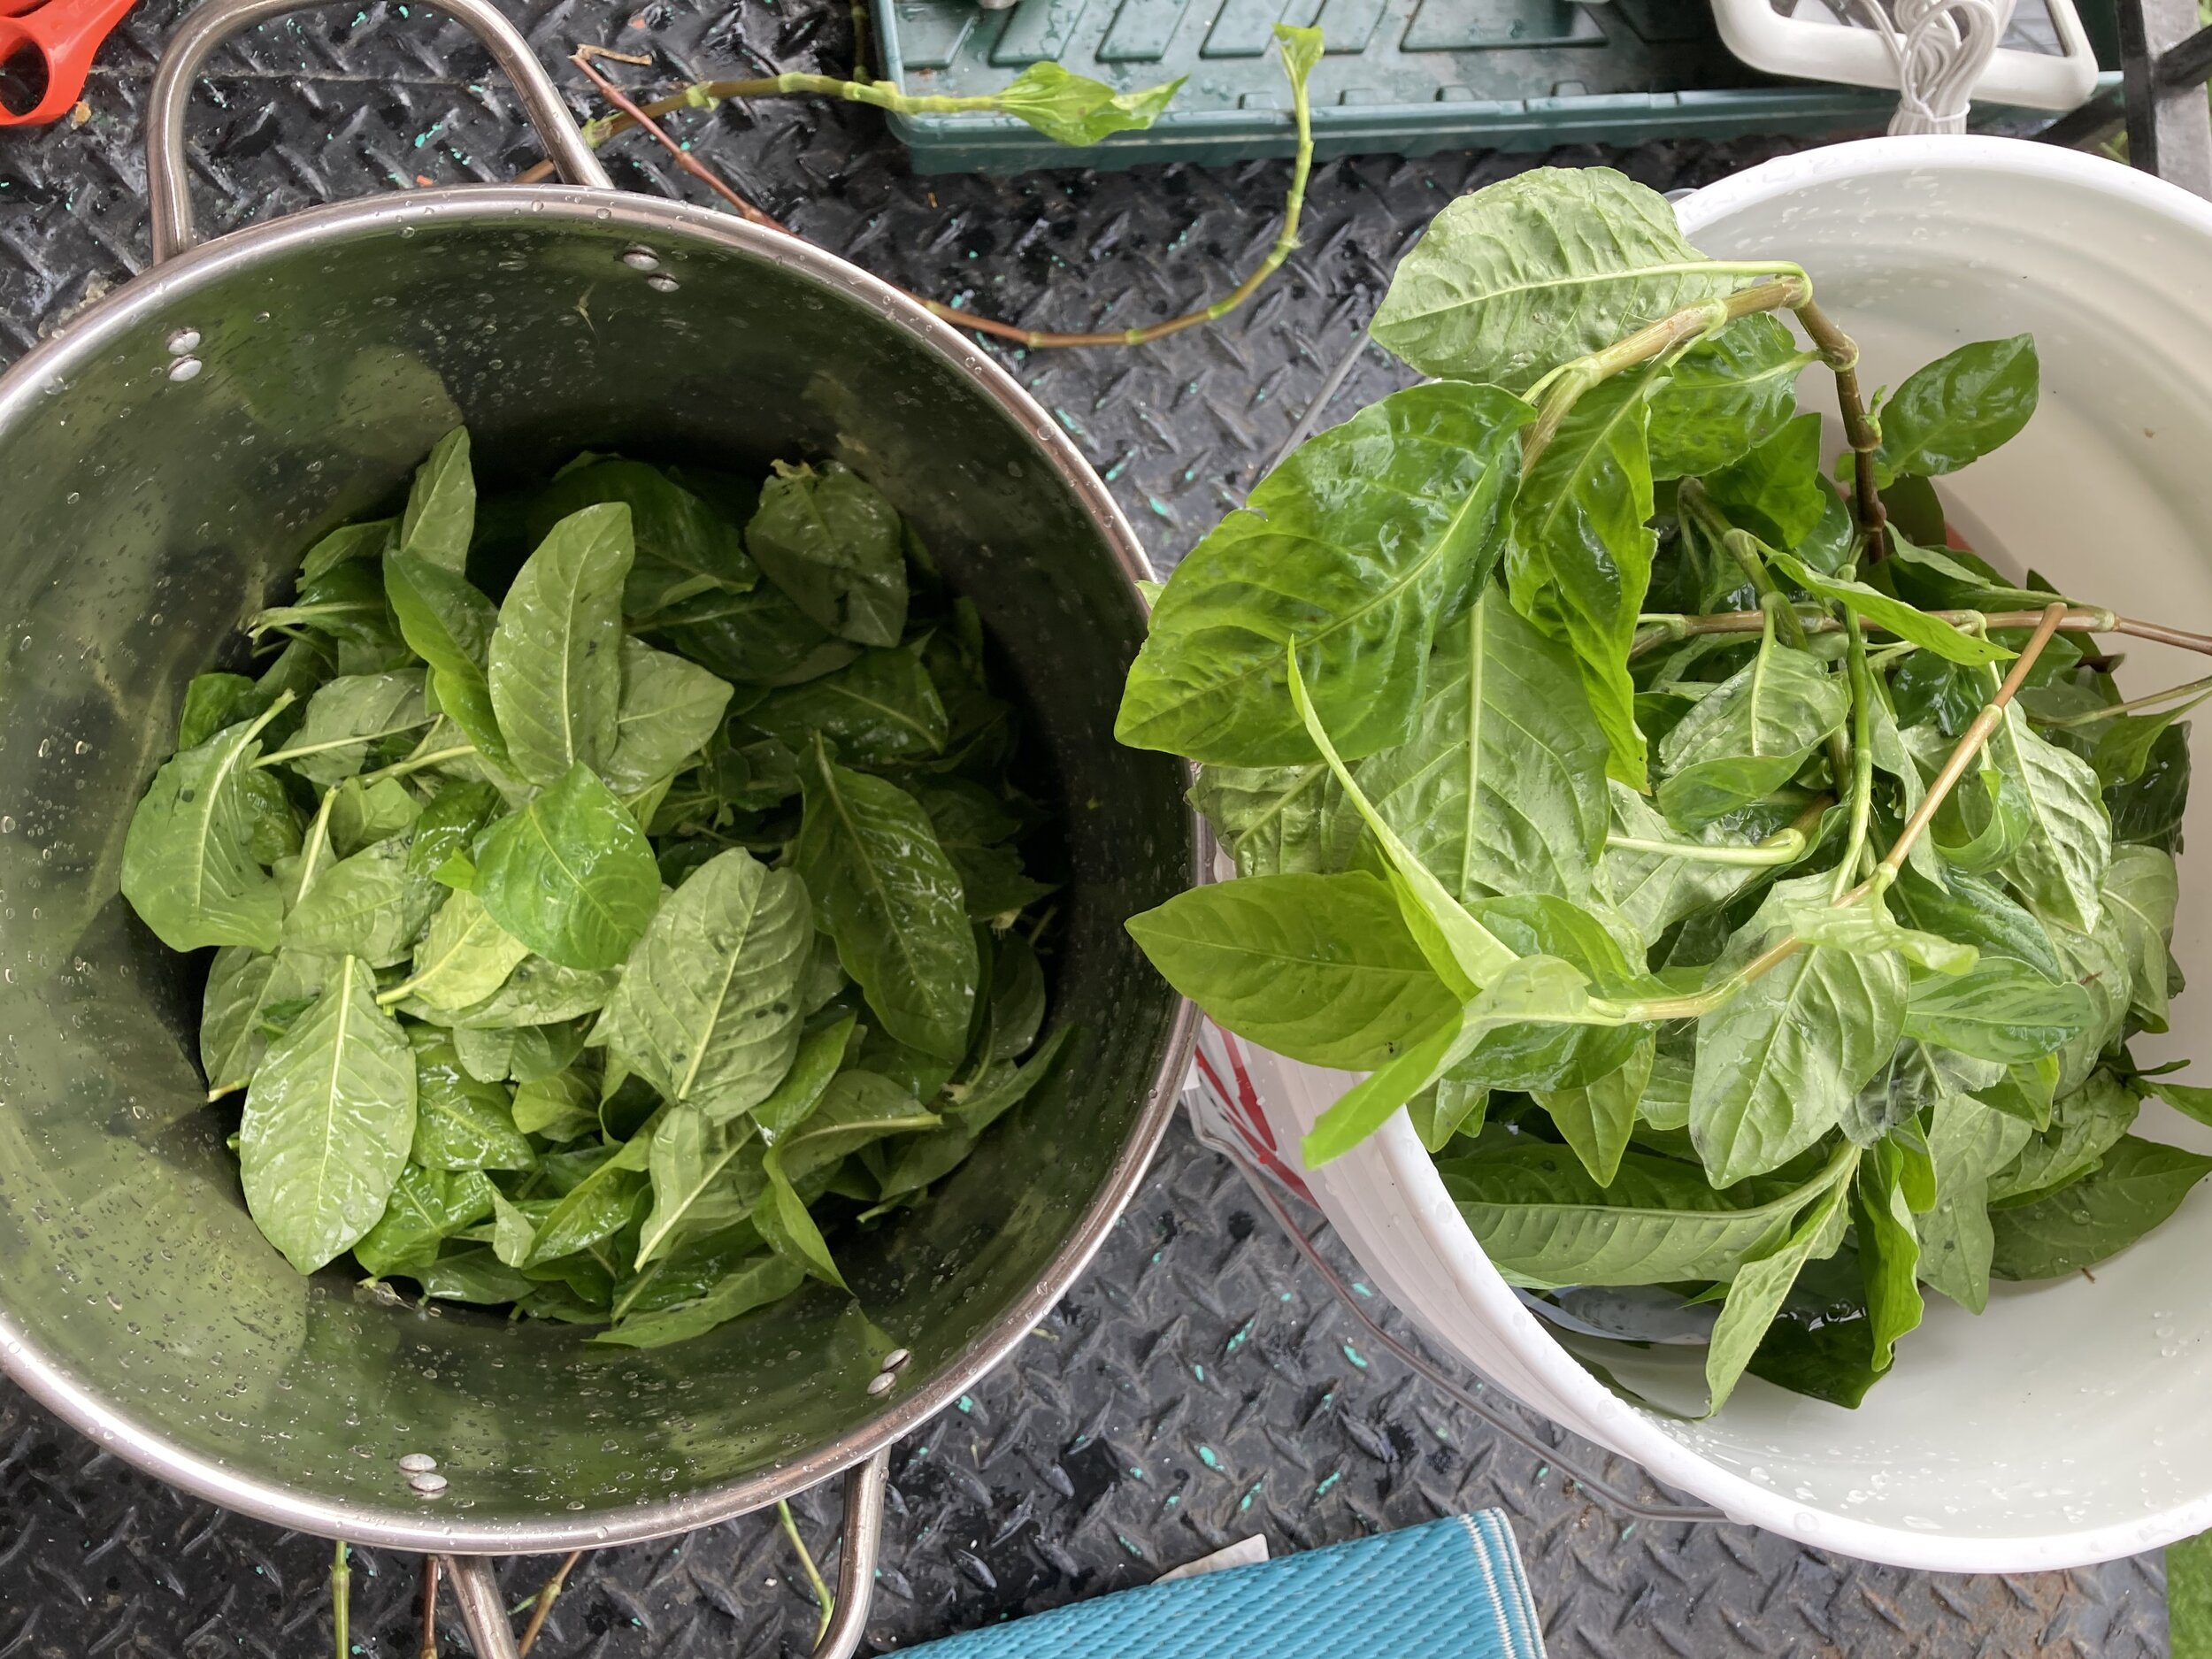
The second step was to remove the leaves from the stems so I could get an accurate weight. Since heat can damage the leaves, they were cut and carefully placed into a large pot of ice + water.
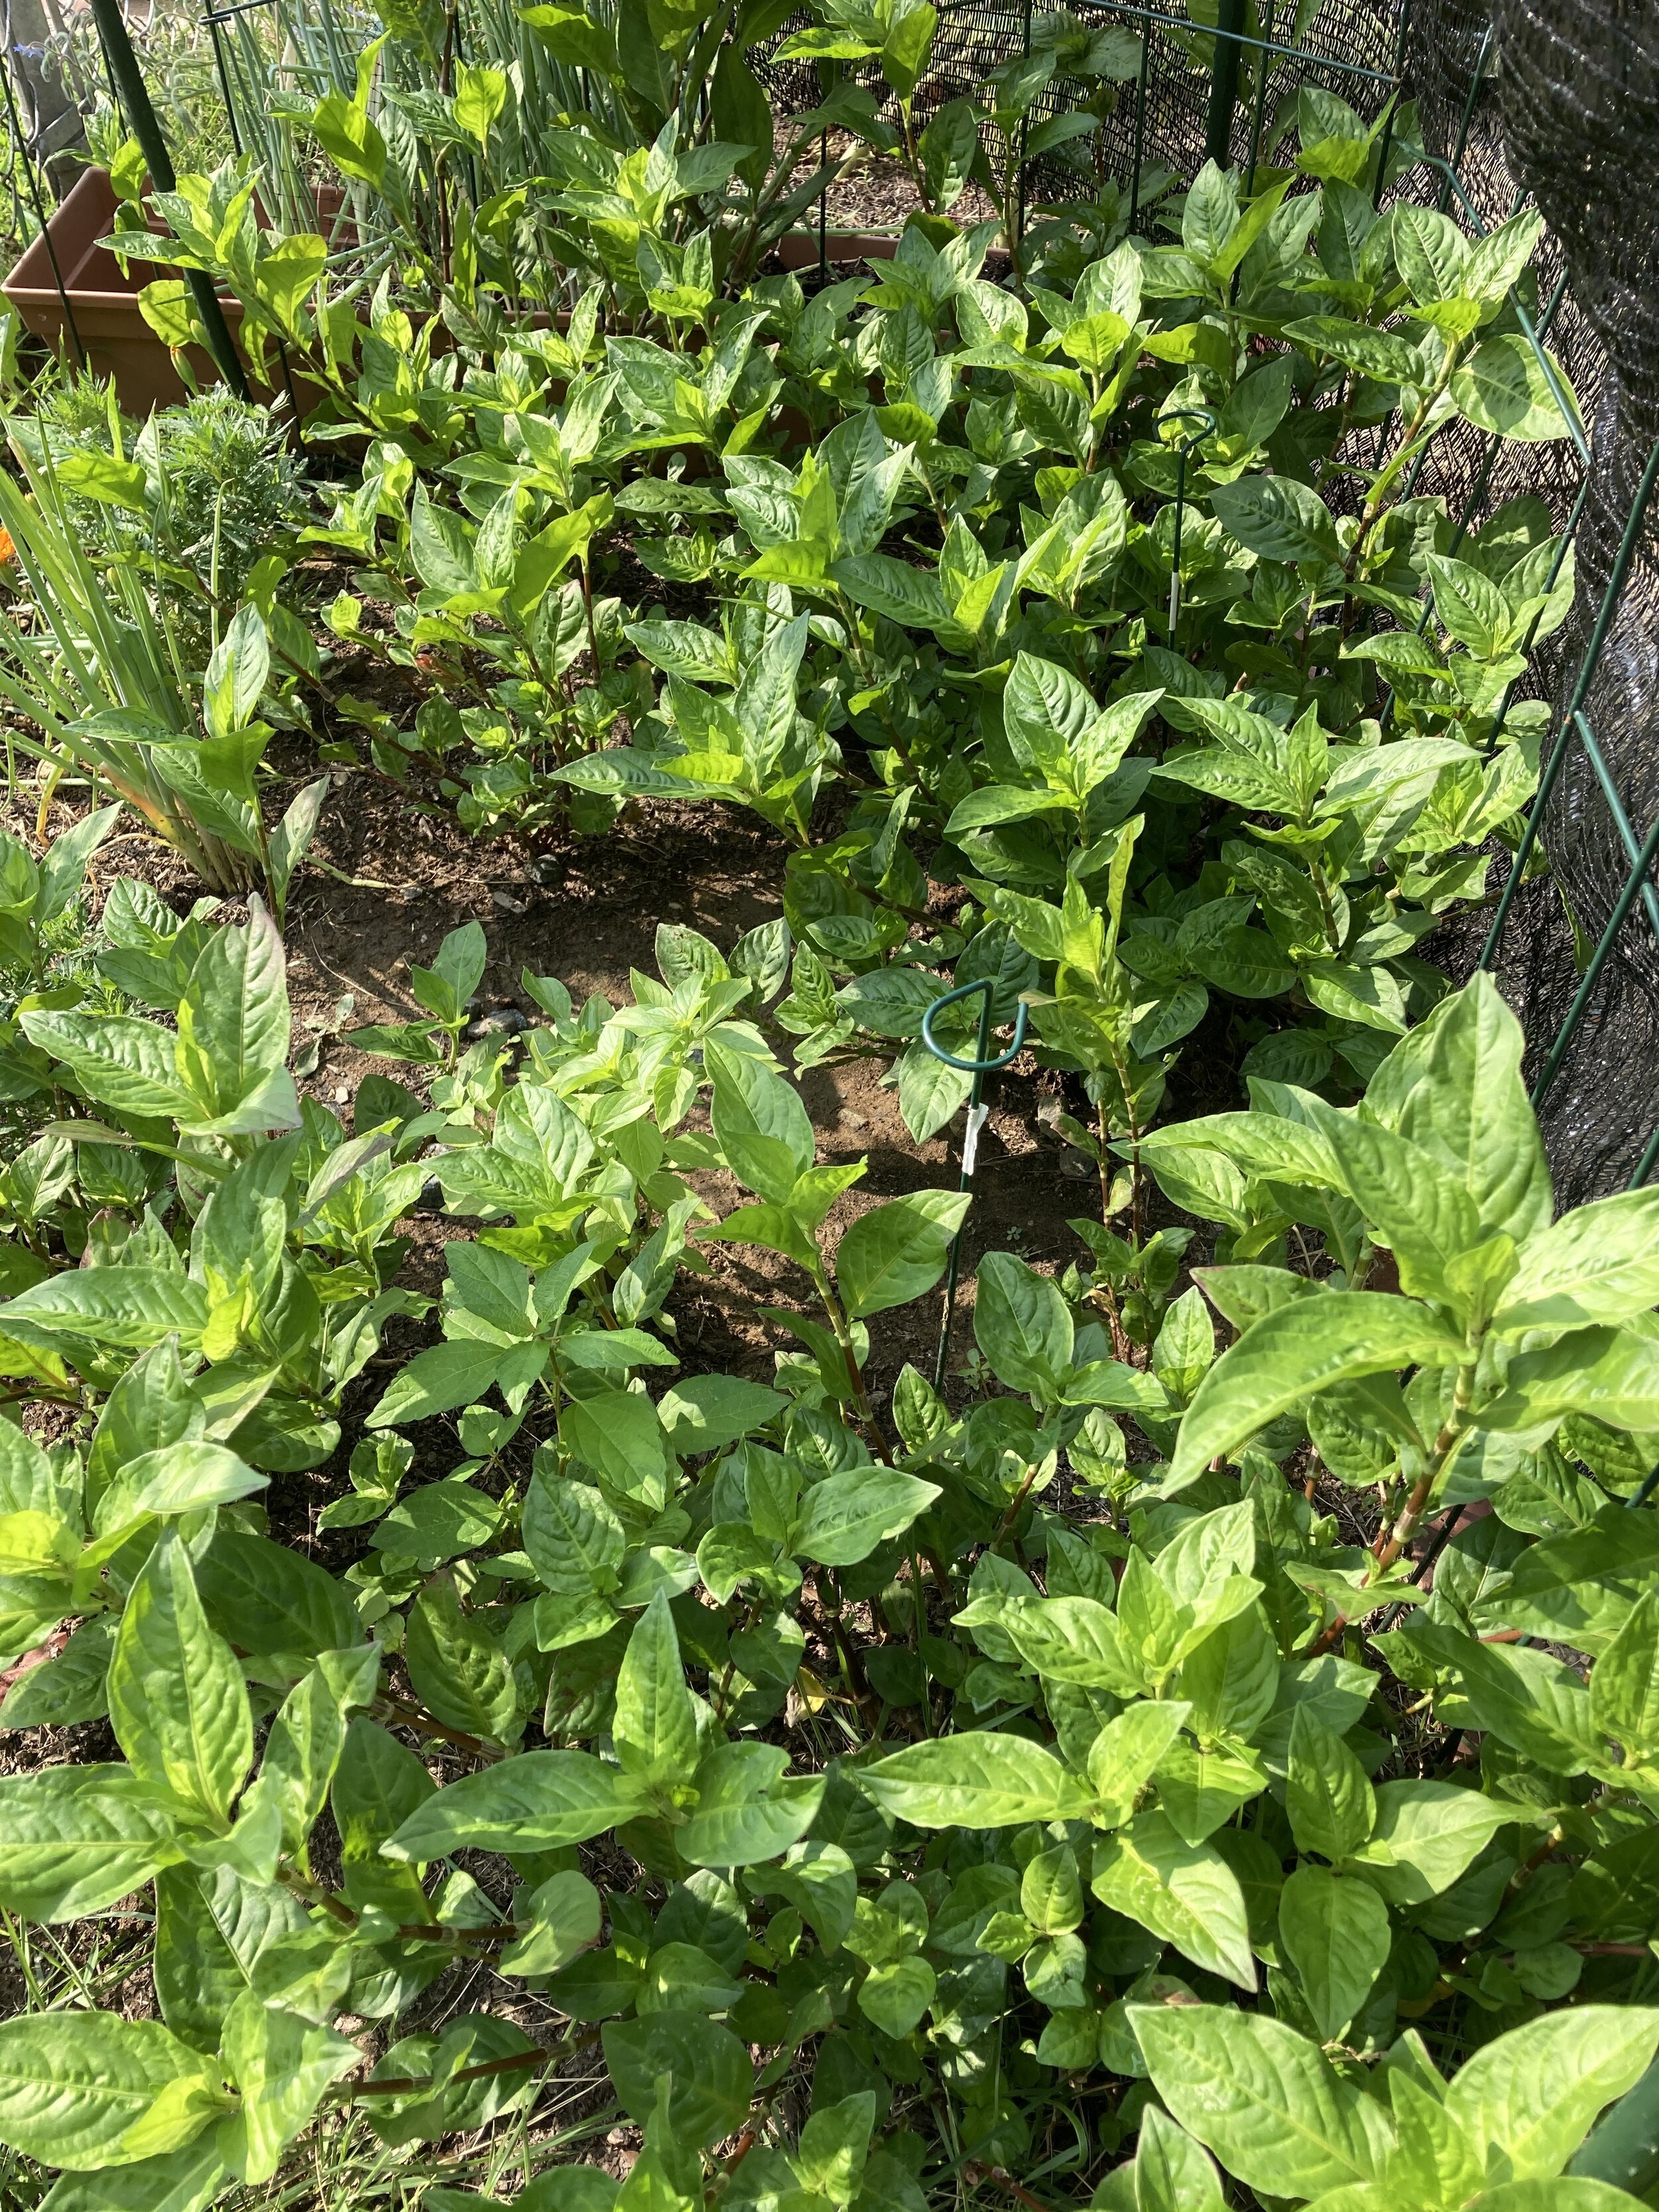
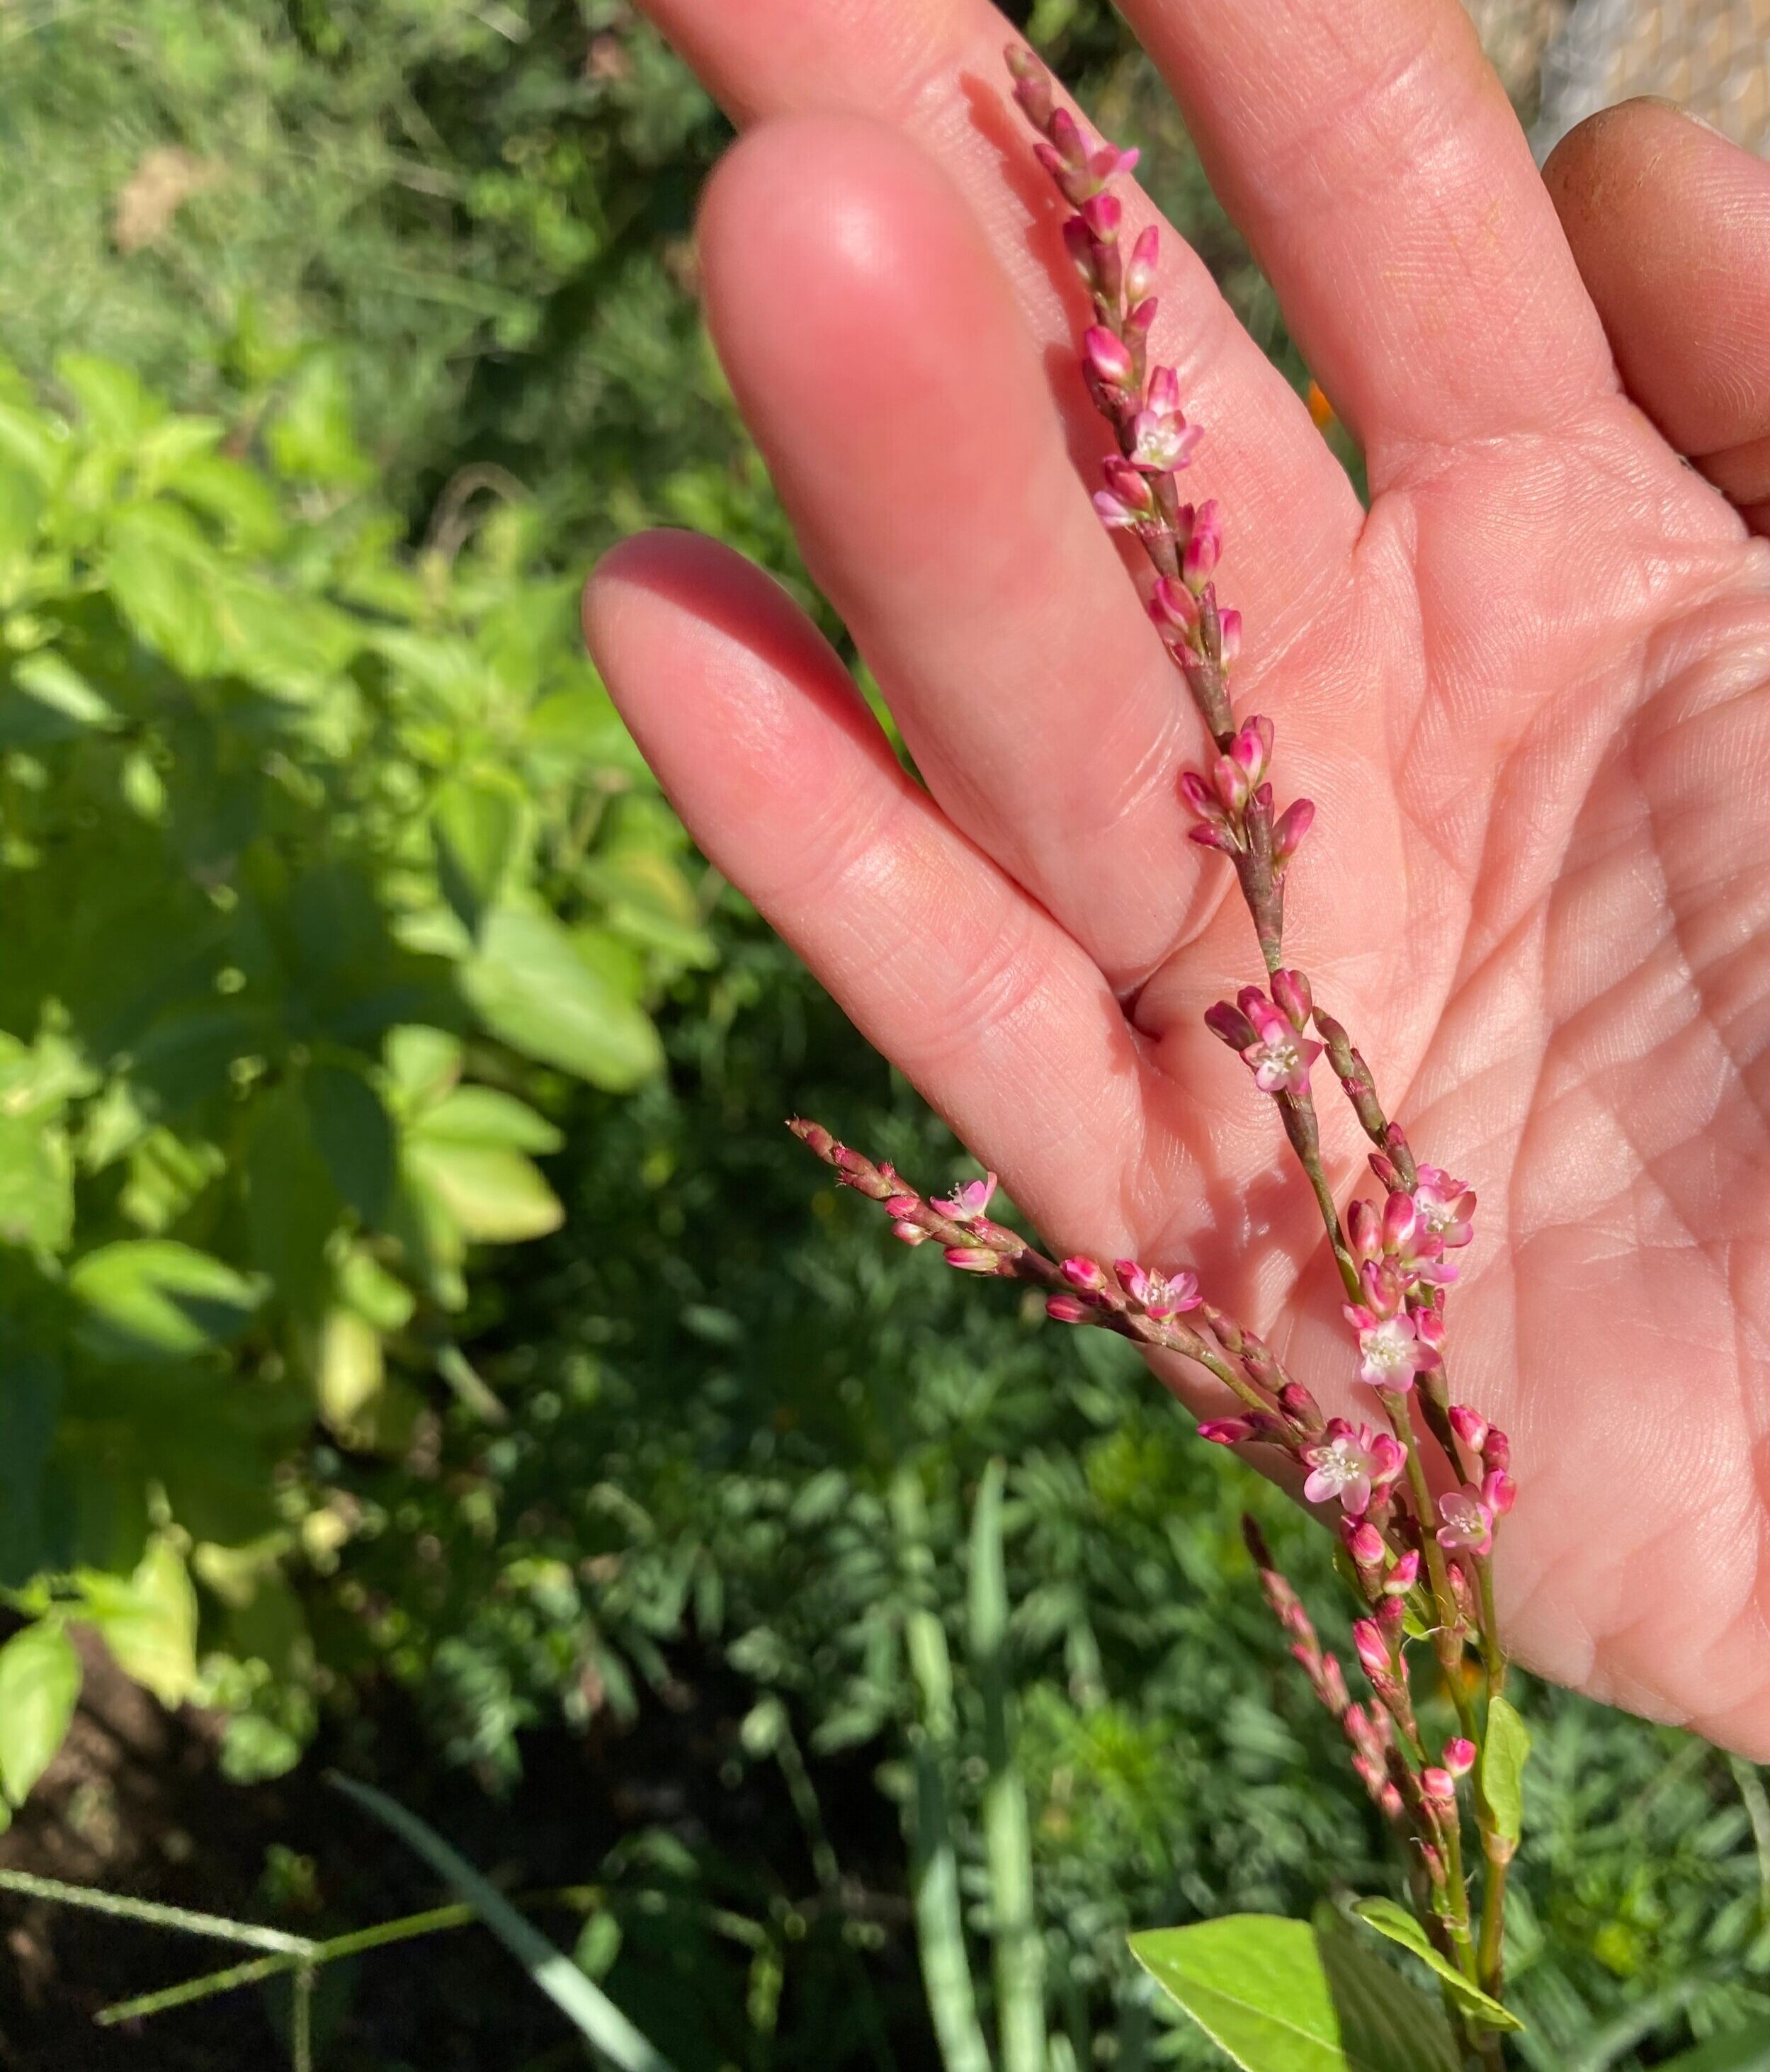
Where my pigment extraction starts— Cutting back my patch of Japanese indigo plants.

Here are the final results of my dye experiments with frozen marigold heads (orange and yellow), and dried avocado skins and pits. I also used some fresh calendula leaves in the eco-print on the left as well.
Ground Cloth - Avocado Skin Shibori.
Left Sample - Eco printed fresh yellow marigold and yellow calendula leaves, and avocado pit grinds on top of a piece of the shibori ground cloth.
Top Lab Dips - Each set of 3 represents marigold and avocado pit dye baths pre-treated with soya binder on 100% cotton fabric. They were mordanted left to right as follows: (1) tannic acid pre-mordant, alum+soda ash mordant. (2) alum+soda ash. (3) no mordant.
Bottom Lab Dips - Each set of 3 represents marigold and avocado pit dye baths used on 100% cotton fabric with no soya binder, and follow the same 3 mordanting options described above.

Dried piece. Mordanting: Tannic Acid and Alum baths. Steam set.

Print full width on silk - hanging to dry in the sun

Notes: The plant material to make the dye was 1/2 WOF. Fabric accordion-folded on the diagonal, and bundled with 6 lengths of string. Dye bath was heated below boiling for an hour, and then left for an 8 hour soak/cool down. I used a soya binder with some aluminum foil for “extra mordanting.” I think I’m going to stick with only using soya for fresh leaf indigo dyeing on cellulosics going forward.


100% Cotton fabric.
3-2-1 Fructose Vat. It was made from ~22g of indigo pigment extracted from 3 summer harvests. The pigment was washed twice, which reduced it to 18g. Leaf weight pre-extraction was about 6-7lbs each. Single dips yield a light blue. I will need to supplement this vat with alternatively sourced indigo.
100% silk, no mordanting. Ph of black Hopi sunflower liquor was dropped to about 4. Take-up was so strong, the dye bath went from opaque to translucent (this was done after the wool hanks were dyed).
Wool is Brooklyn Tweed Peerie. Mordanted with Alum+Cream of Tartar. Dye takeup was poor in comparison to silk, which was not mordanted at all.
100% wool. Left side was dipped in a water/vinegar solution to get a truer blue
100% Wool
Using the leftover mash from fresh leaf indigo dyeing, I dyed cotton, silk, and wool to get reddish purples & tans.
Samples of fresh indigo dyeing done on cotton and wool using soya binder on some, with different dipping times.
Once the paste has been filtered and dried, it can be pounded into powder. From about 7 lbs of leaves, I got a little over 7 grams of pigment, which corresponds to the ratio expected of Japanese indigo. This pigment will be added to a vat I’ll be starting later this summer.
Once the Ph has been adjusted, oxygen is introduced. I used an egg beater to do this. I didn’t document this part, but once done, is set aside to allow for the floccing process to take place. As the pigment settles on the bottom of the container, the liquid becomes clearer. At this point, a slow decanting is done until a pigment paste is left that can then be drained.
In order to get the indoxyl molecules separated from water, the bath’s alkalinity must be adjusted to between 10-11. Once adjusted, indigotin is formed through the action of floccing. As an example, Calcium Hydroxide is a floccing agent.
The next step was to extract the dye by slowly heating a pot with leaves weighted down, not exceeding 120ºF - 140ºF. This is something of a quick heated fermentation process. A slower process is to allow the container of leaves in water to ferment over a few days time. Ideal for very hot summer days.
The second step was to remove the leaves from the stems so I could get an accurate weight. Since heat can damage the leaves, they were cut and carefully placed into a large pot of ice + water.
Where my pigment extraction starts— Cutting back my patch of Japanese indigo plants.
Here are the final results of my dye experiments with frozen marigold heads (orange and yellow), and dried avocado skins and pits. I also used some fresh calendula leaves in the eco-print on the left as well.
Ground Cloth - Avocado Skin Shibori.
Left Sample - Eco printed fresh yellow marigold and yellow calendula leaves, and avocado pit grinds on top of a piece of the shibori ground cloth.
Top Lab Dips - Each set of 3 represents marigold and avocado pit dye baths pre-treated with soya binder on 100% cotton fabric. They were mordanted left to right as follows: (1) tannic acid pre-mordant, alum+soda ash mordant. (2) alum+soda ash. (3) no mordant.
Bottom Lab Dips - Each set of 3 represents marigold and avocado pit dye baths used on 100% cotton fabric with no soya binder, and follow the same 3 mordanting options described above.
Dried piece. Mordanting: Tannic Acid and Alum baths. Steam set.
Print full width on silk - hanging to dry in the sun
Notes: The plant material to make the dye was 1/2 WOF. Fabric accordion-folded on the diagonal, and bundled with 6 lengths of string. Dye bath was heated below boiling for an hour, and then left for an 8 hour soak/cool down. I used a soya binder with some aluminum foil for “extra mordanting.” I think I’m going to stick with only using soya for fresh leaf indigo dyeing on cellulosics going forward.